12 Month’s of Holiday Décor: February

Valentine Decor (7)

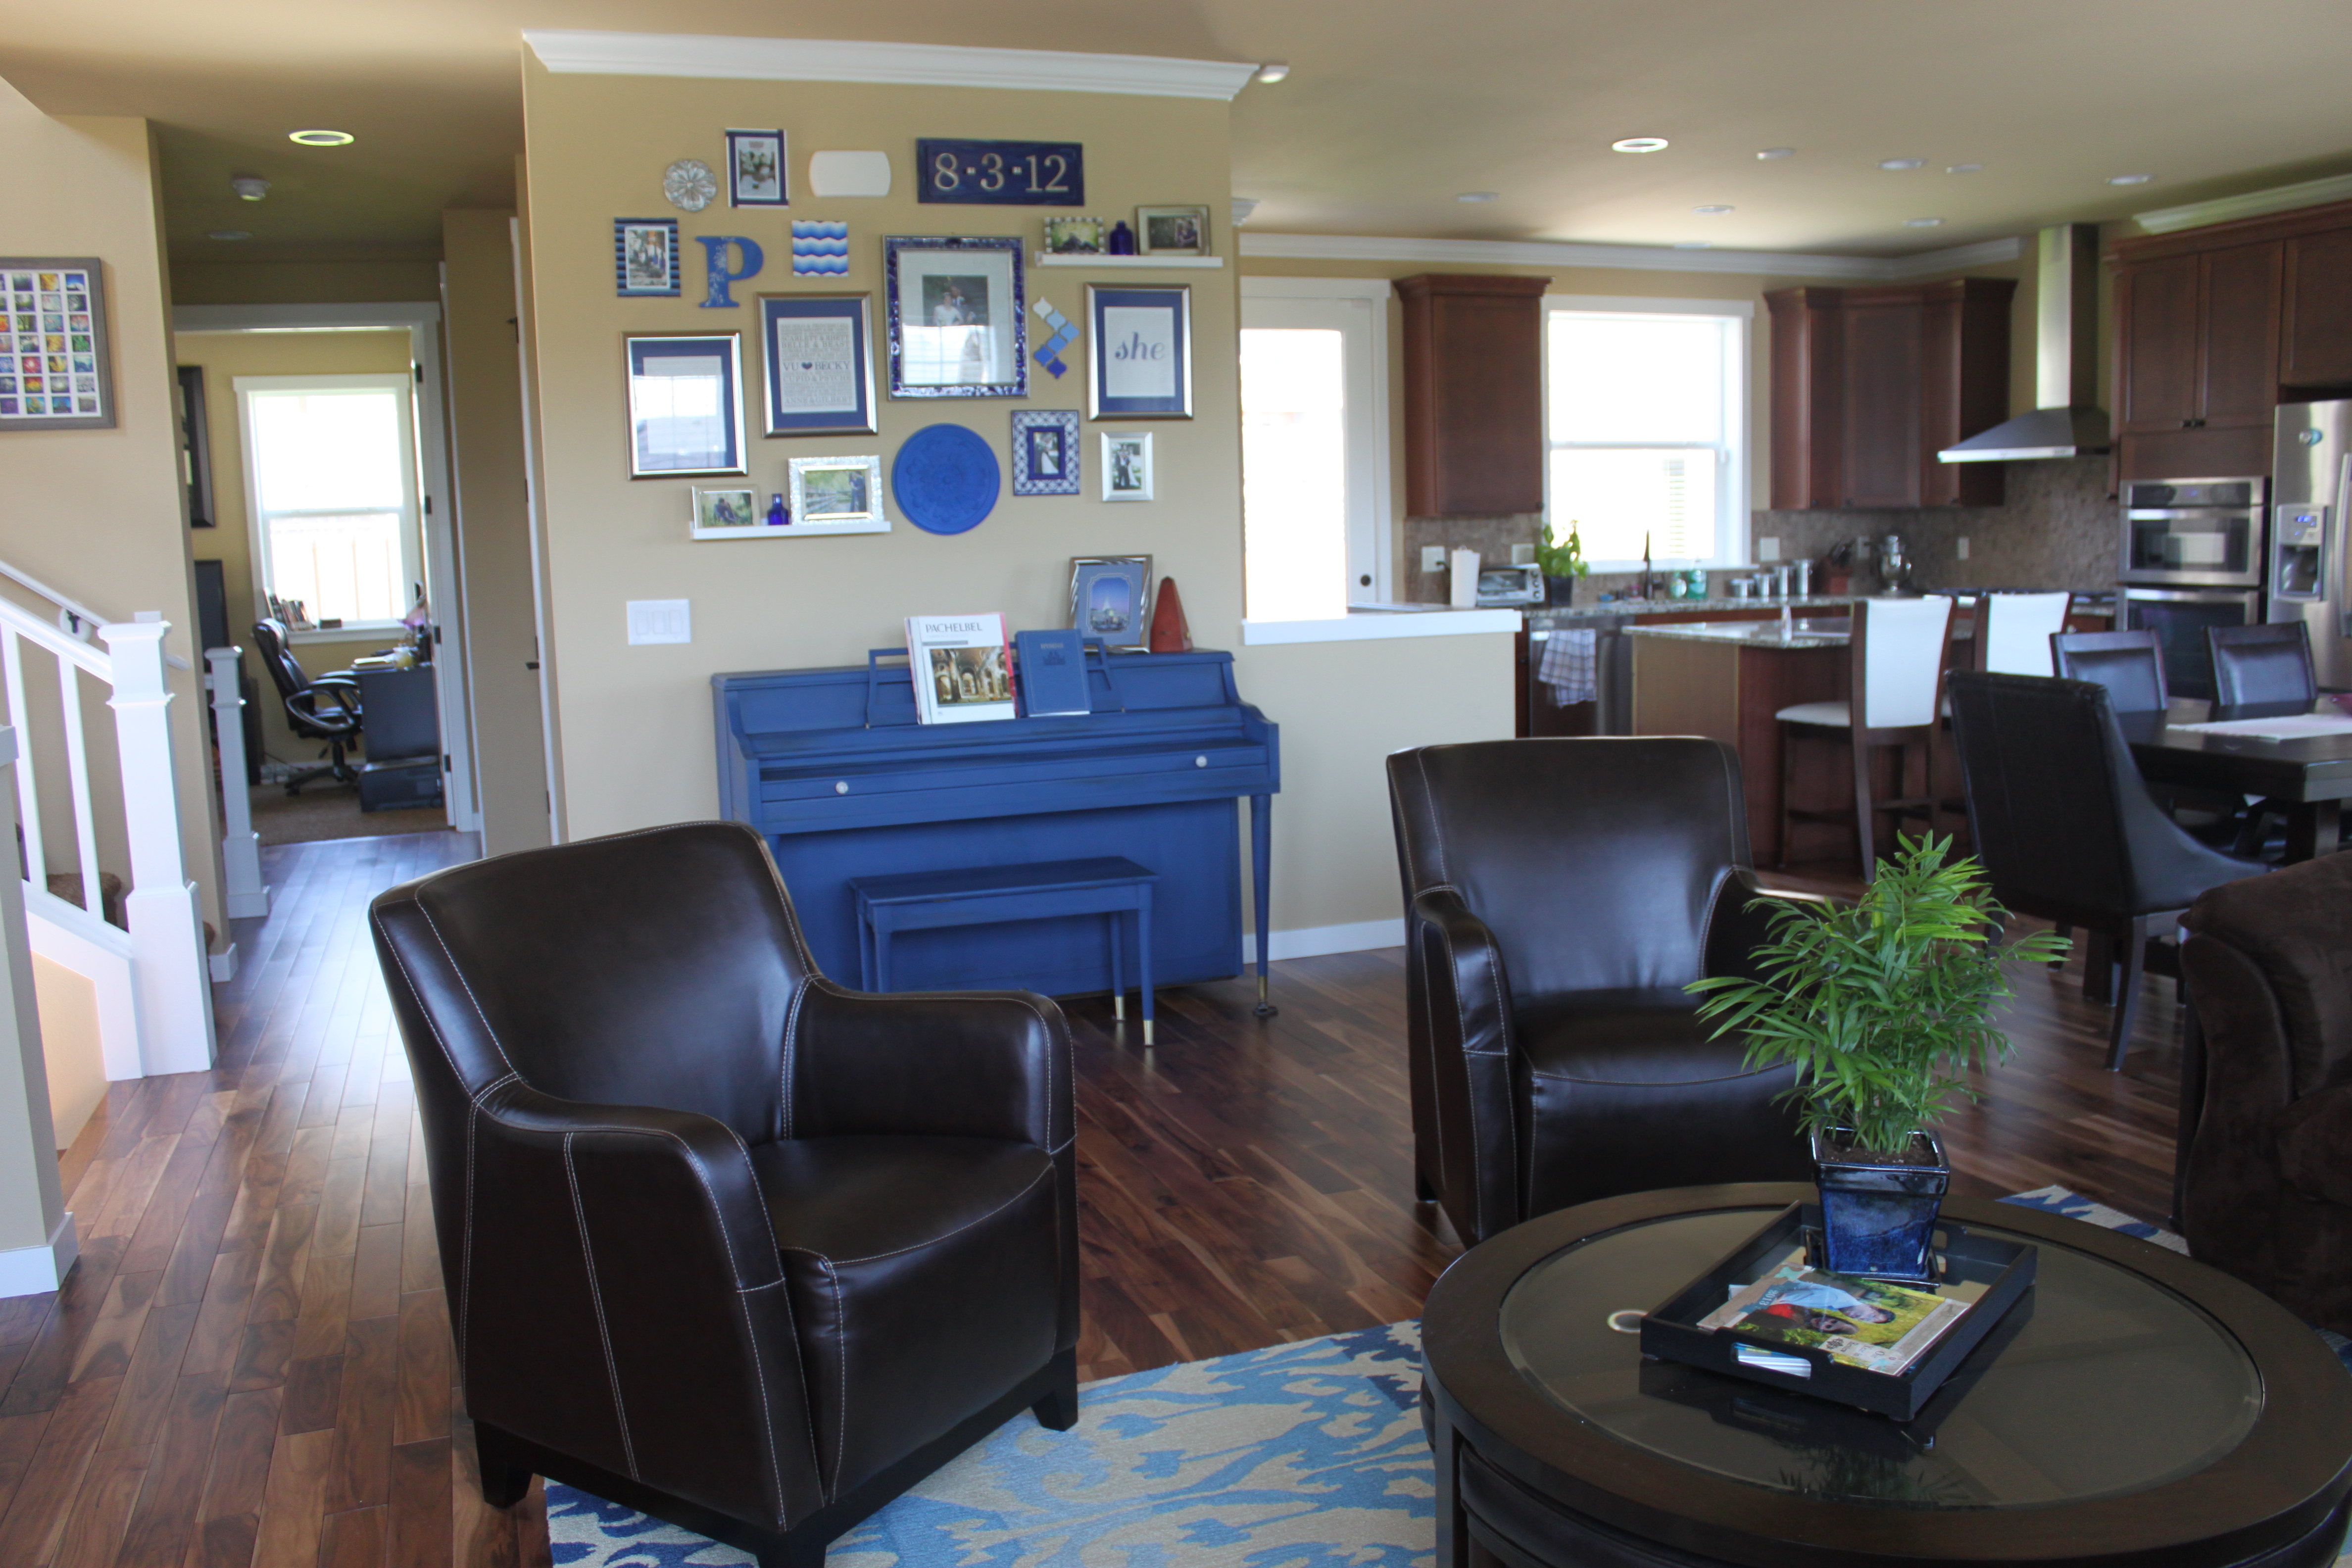
Yay it’s February!  So excited that I am still 2 for 2 for the holiday decorations.  I am really happy with how February’s decorations have turned out.  I hardly had any Valentine’s decorations before, but I spent very little money on this, plus almost everything that I did buy was on sale or on clearance.  That always makes me (and Vu) happy.

Valentine Decor (6)

I made the 4 heart blocks a couple of weeks ago.  I was planning on making my own “Love” sign but then I saw this one at Joann’s that I really liked and it was 80% off… so I just bought it instead.  (Also I forgot to add that the letter blocks that were also in January’s décor I made a few years ago using this tutorial.)

Valentine Decor (3)

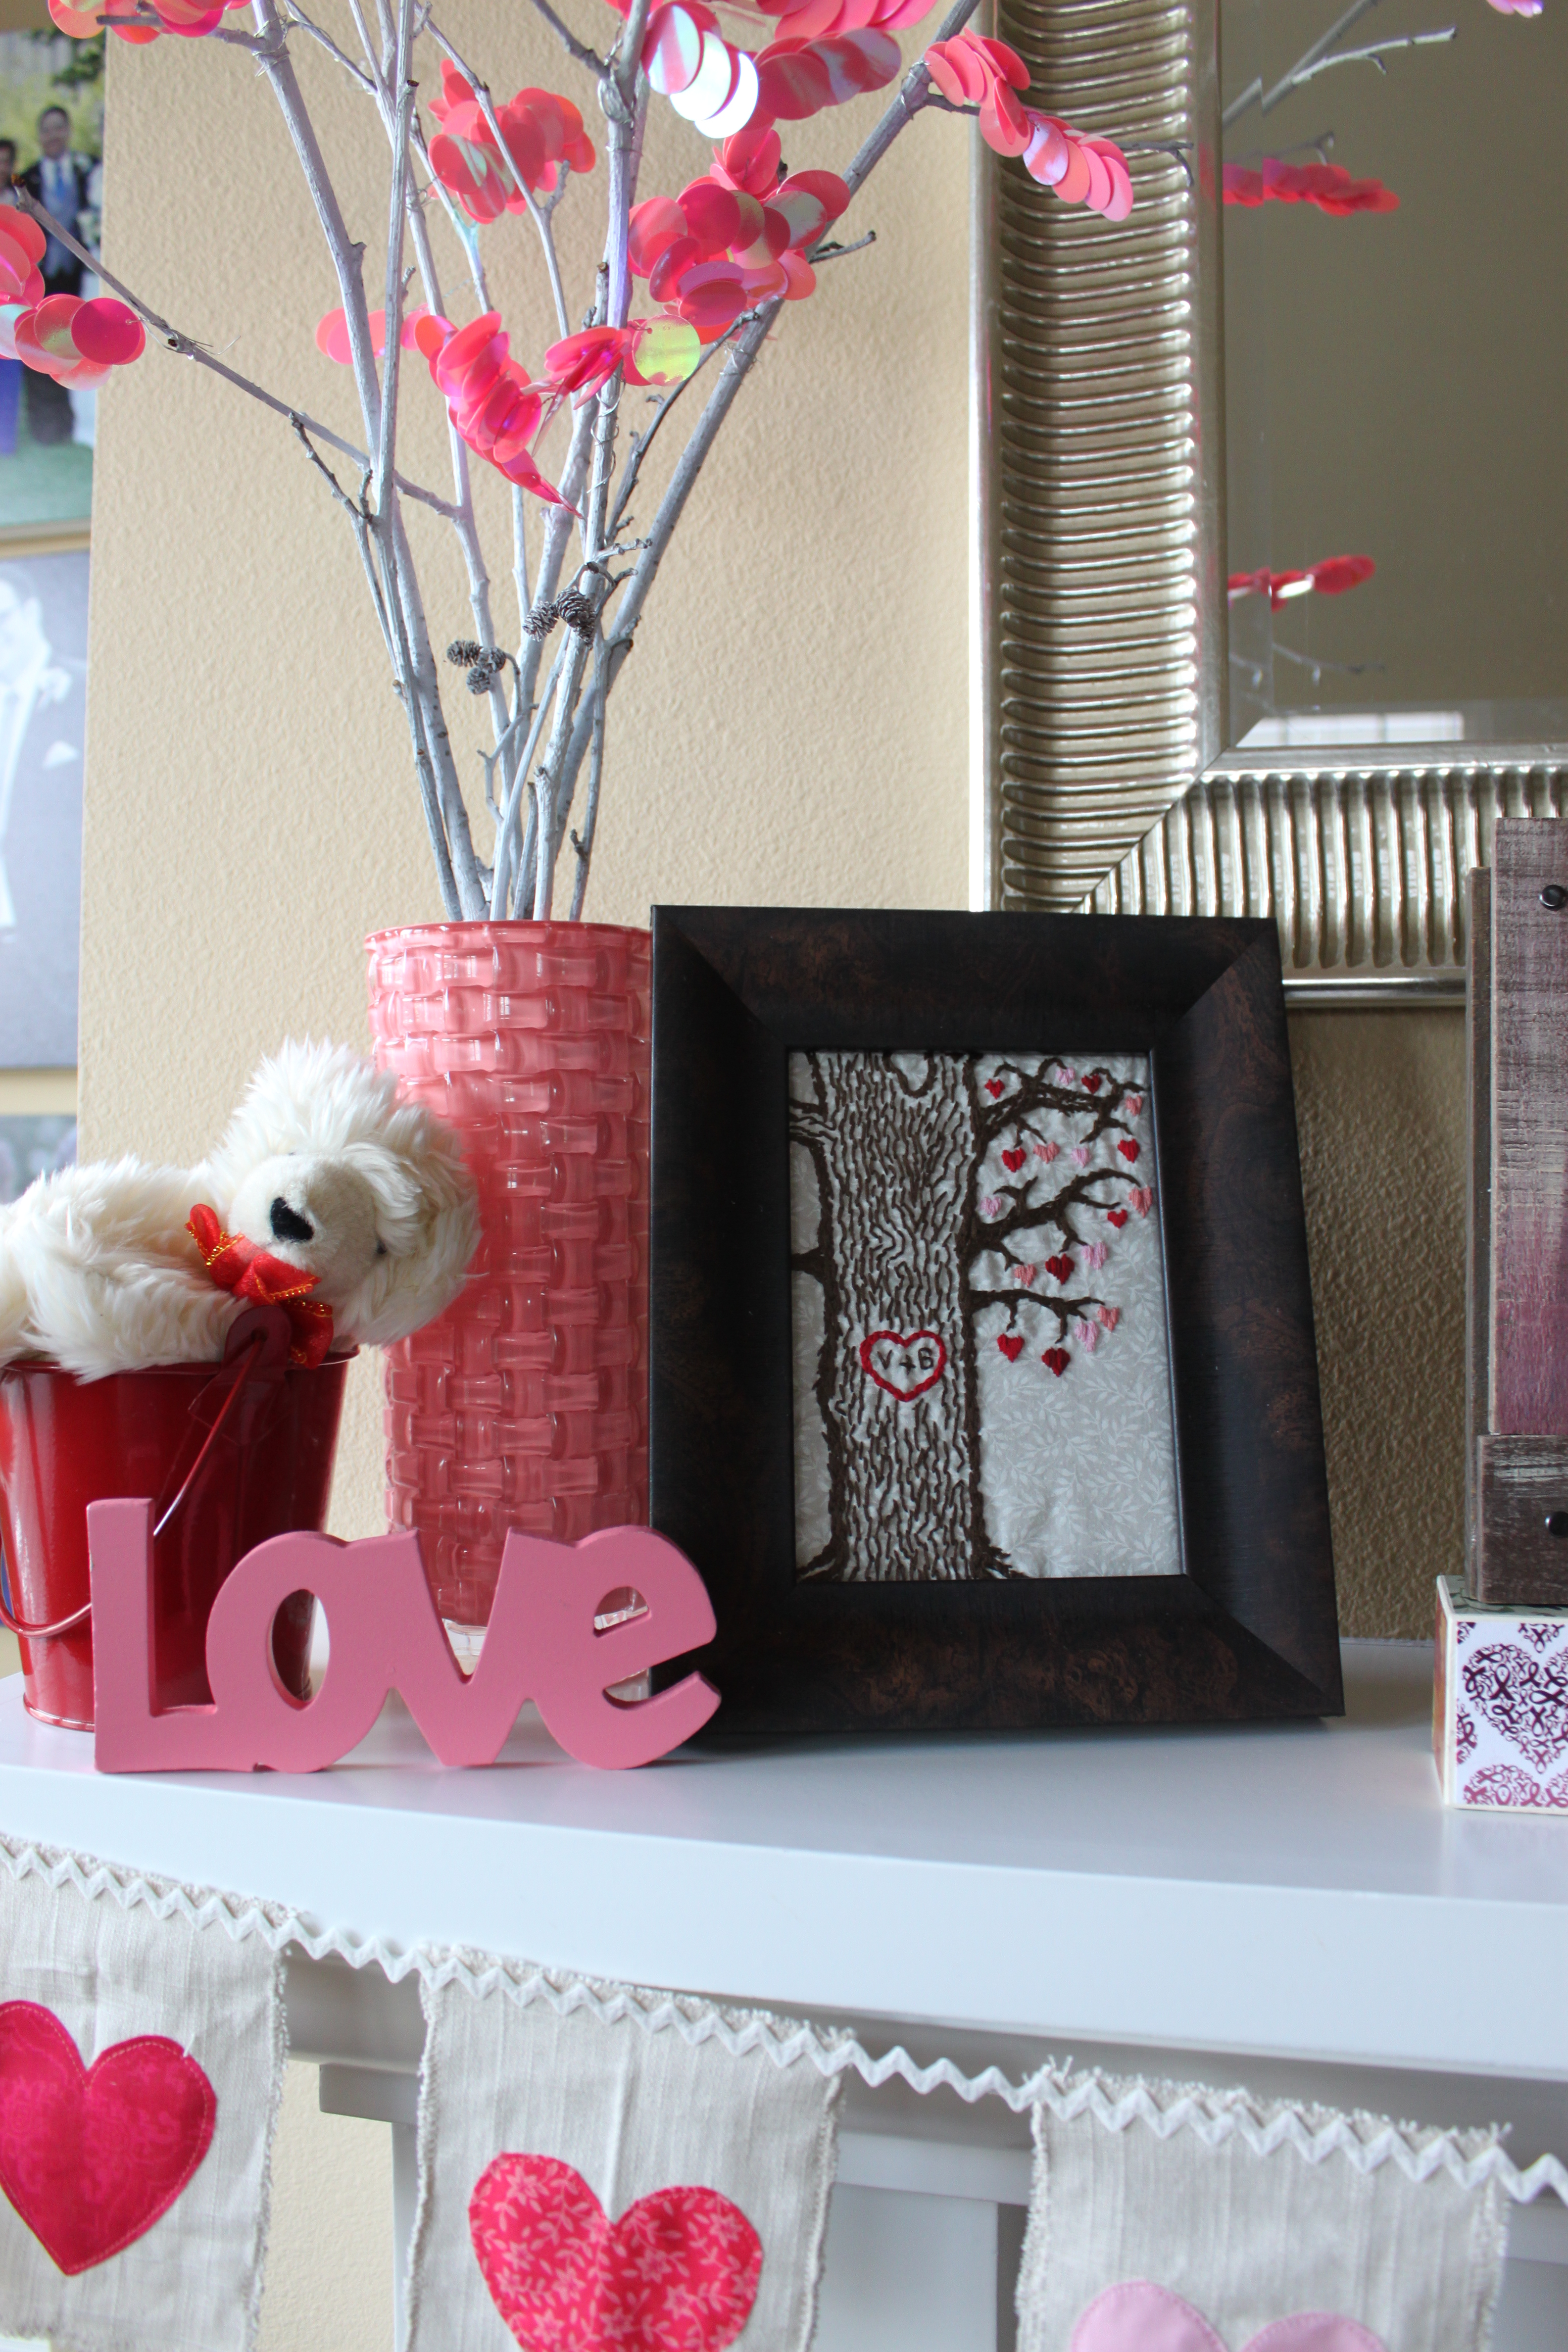
I have really gotten into embroidery the last year and wanted to make something for Valentine’s day too.  I love tree’s and I have seen so many variations of the initials carved into a tree so decided that is what I wanted to do.  I have to be honest, I don’t love how it turned out.  There are a number of things I would like to change about it, so maybe another year I will redo it.  But I like it well enough for now.  I kept the branches from the January décor and added some sequin “branches” to them.  I took pieces of wire and twisted pink 20 mm round sequins onto them and then twisted them around the tree branches.

Heart Banner (1)

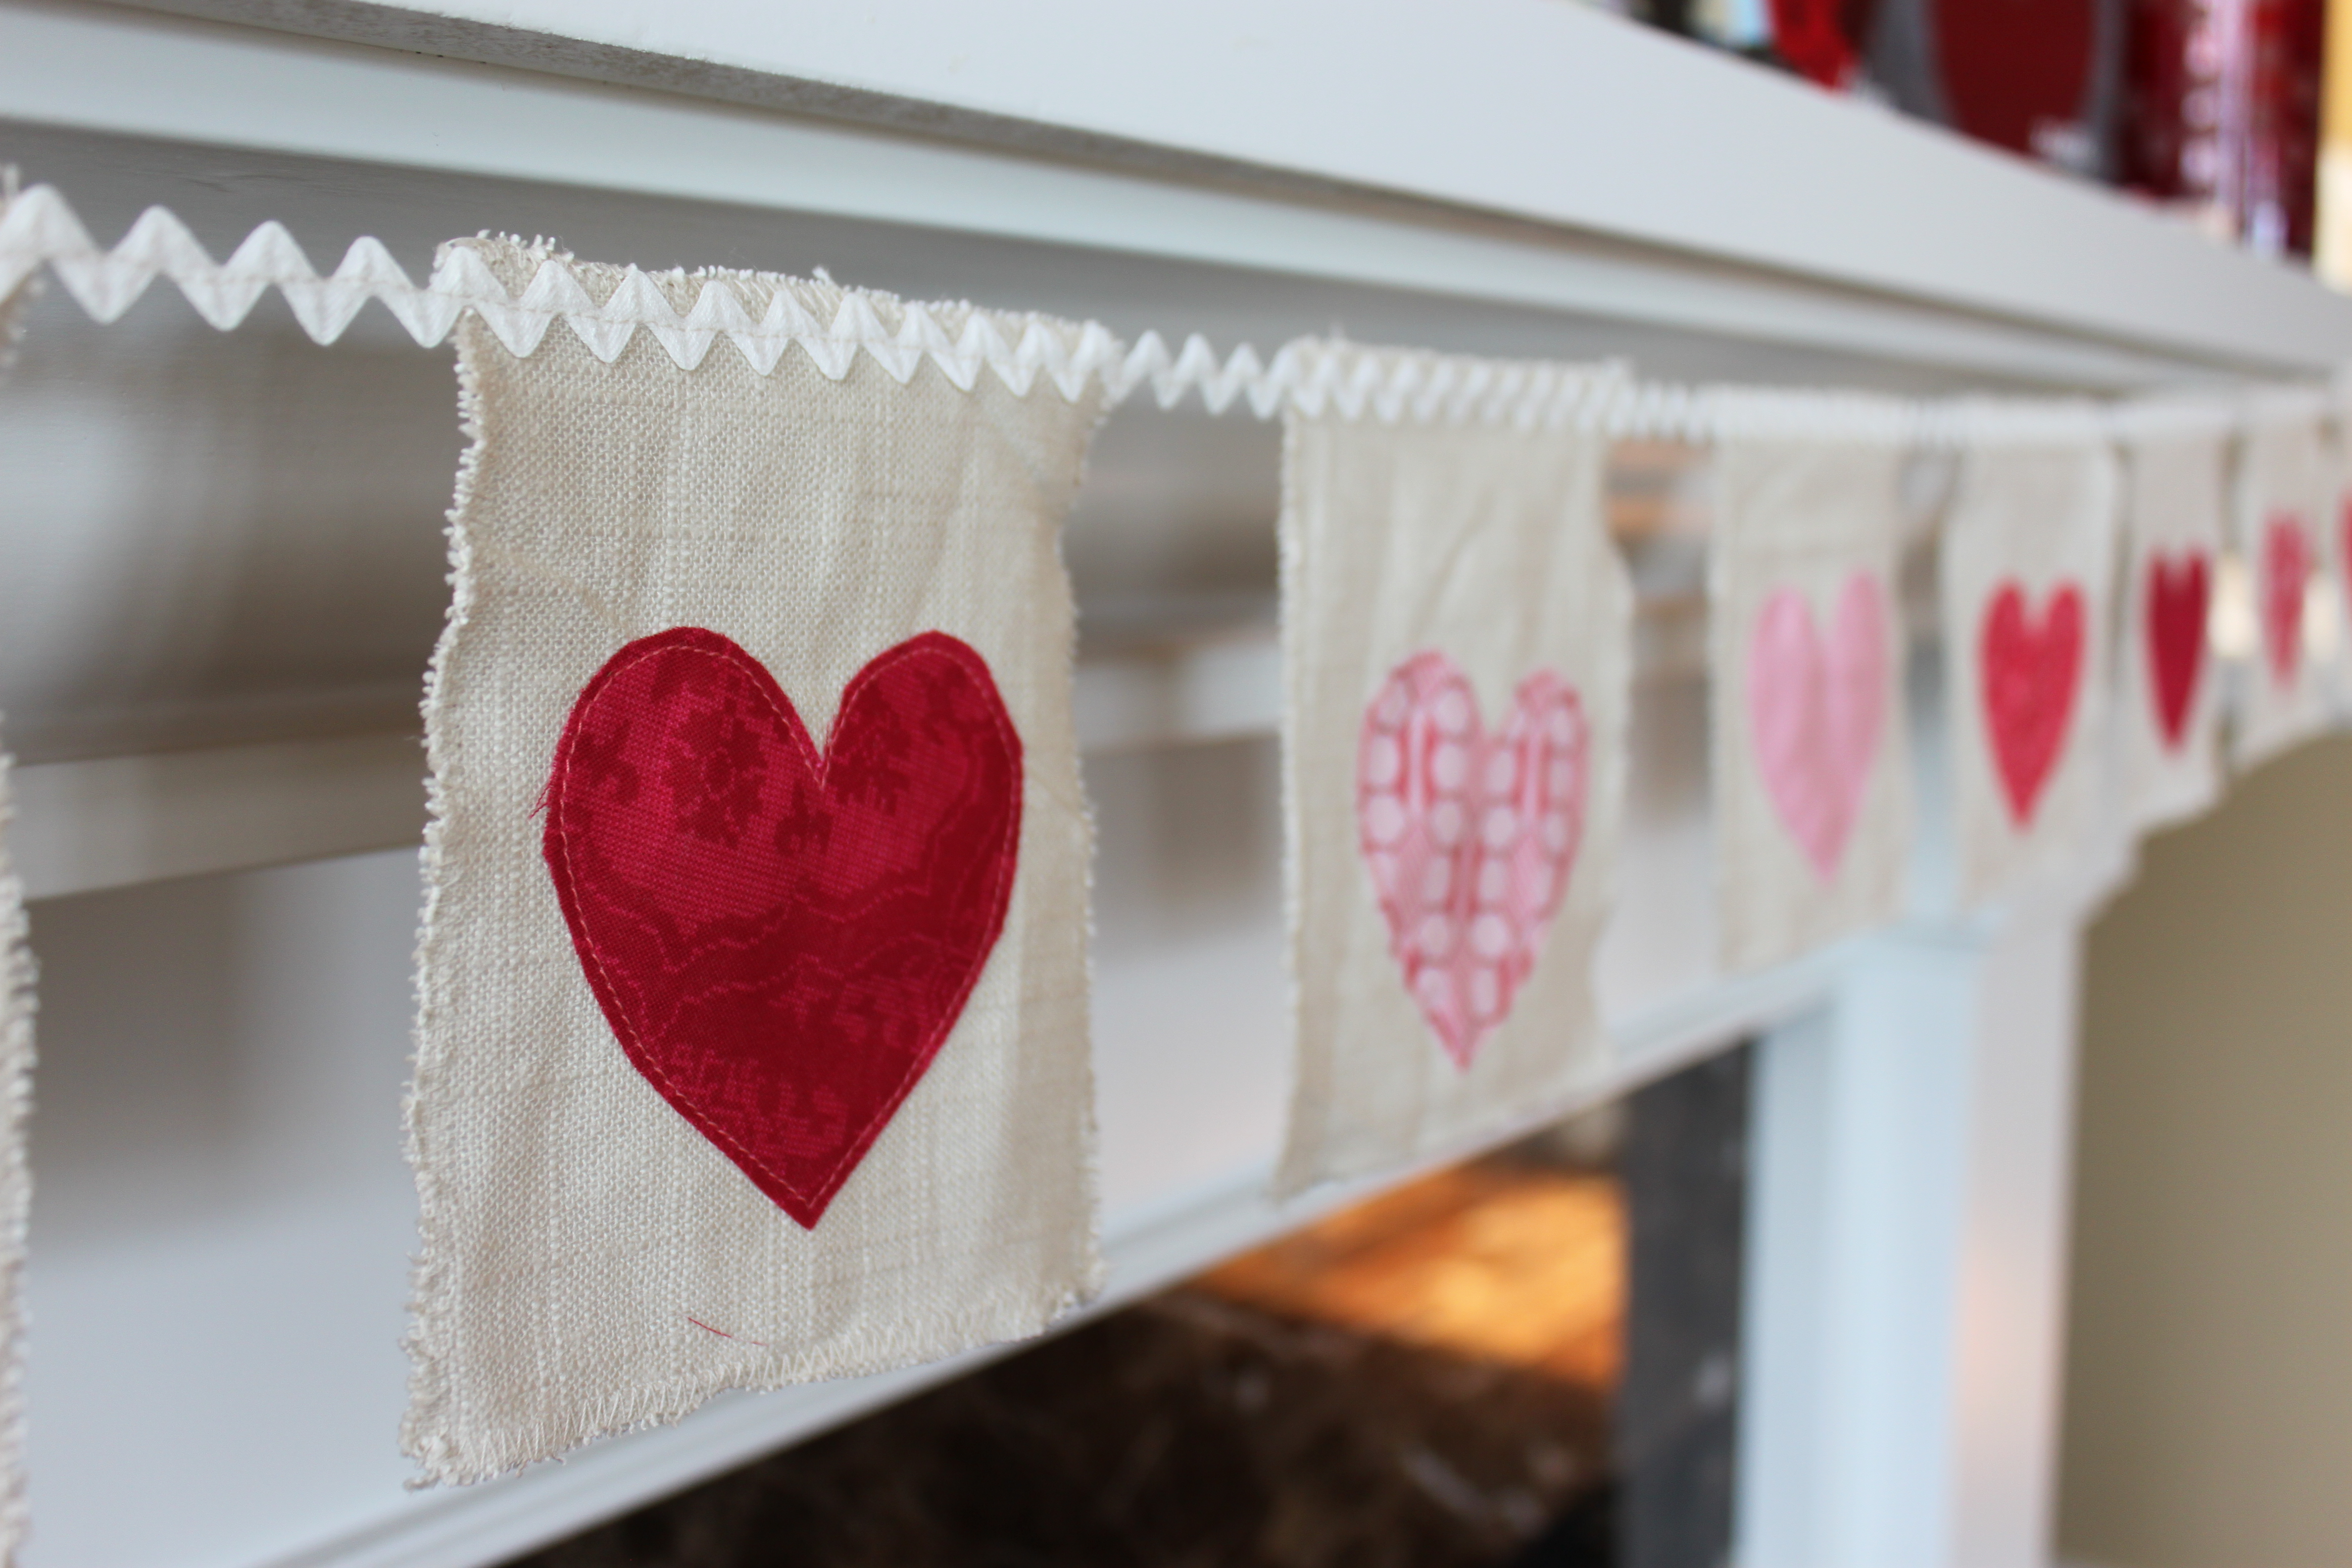
The heart garland is one of my favorite things, I love how it turned out.  I had some scraps of beige muslin left from another project so I cut them into 4.5″ x 5.5″ rectangles, then sewed a zig zag stitch around the edges to prevent fraying and to give it a little bit of a rough edge.  Then I printed out a paper heart to use as a template and pinned it to the different pink fabrics (fat quarters from Joann’s that I got 50% off) and cut out around it then sewed the fabric hearts onto the muslin.  I found some matching ric rac in a huge stash of craft supplies I “inherited” from my Grandma when she died (craft supply hoarding may be a family trait…my mom has a lot too…), and I used that to sew along the top to make the garland.  I love it with the ric rac.  It was a really easy project. Continue reading

Valentine Heart Blocks

 Valentine Heart Blocks (6)

I have finished my first Valentine project and I am very excited about it.  I loved the snowflakes blocks that I repainted for the January décor so much that when I was thinking of ideas for Valentine’s I really wanted to make some more.  This time I made the blocks too.  I wanted to make 4 of them with different colored hearts on them instead of the snowflake and then I added some Valentine words to them as well.  The snowflake ones have a small space between the pieces of wood on the face of the block, but for these I wanted them right next to each other.  I like that I can keep all four of the blocks together, or I can split them up and place them wherever I might need them. Continue reading

12 Month’s of Holiday Décor: January

IMG_1107

I’ve mentioned before that I love changing out decorations for holidays.  Well when we moved into the house a year ago (can’t believe it has been a year) I was thinking about what to do on the mantle for January and decided that I wanted to have something different for each month of the year.  I didn’t get a very good start and didn’t really get anything specific up for January or February (I was still trying to get everything unpacked and organized), but I started in March.  I had some things for the month’s with the bigger holidays, but not much for every other month.  I ended up getting 7 out of 12 (but let’s be honest March was not up to standard…I also don’t love the current set up for November) and many of my completed 53 projects in 2014 were Holiday and home décor.

So this year I really wanted to get every month. I already have a pretty good start, so hopefully it will be manageable.  I noticed last year that what I did have before for our apartment didn’t go far in the new house, which is partially why I only got 7.  I found that I have this problem.  I see something in the store and like it except for maybe it isn’t the color I want, or it’s a good idea but cheap materials, or I want it a little bit bigger, or smaller, or I wish it didn’t have that one thing on it, or…  So I think, “I can make that” and then it will be exactly how I want it.  Which I usually can do.  But that takes time.  And let’s not even get into all of the good ideas found on Pinterest.  And for some reason Vu thinks that he likes it when I make dinner, clean the house and do laundry.  And here we are at 7 for 12.  On to 2015.  The main goal is the mantle and something on the dining room table, with anything extra I can get around to on the coffee and end tables, cabinets on either side of the mantle and the piano. We will see how it goes.  I have many plans in place.  (But not for June.  I am currently stumped for June…the only thoughts I have so far are green and yellow…we shall see.)

So after the busy-ness of Christmas died down (and I got my energy back after having the flu/pneumonia, which I didn’t give to any of our house guests we had the whole time I was sick thank you very much), I started to think about January.  I was discussing it with my sister Rachel, and decided I wanted to do a Winter theme.  I already had some items from a blue and silver mantle I made a few years ago, and I think blue and silver are nice winter colors so I decided to start with that and then just add in some snowflakes to make it more “winter”. IMG_1069 IMG_1071

I had some pine cones I didn’t end up using for Christmas, so I spray painted them mostly white.  I took a walk along the path through the greenbelt down the street from our house and picked up some branches off of the ground and also spray painted them white.  They even had some cute tiny pine cones hanging off their branches.  Then I made some beaded snowflake ornaments (thanks Pinterest) to hang from the branches.

IMG_1076 Continue reading

Bow Tie Baby Shower

IMG_0183

A couple of weekends ago I threw a baby shower for my friend Carrie and her baby boy due in October.  Her nursery colors are orange, royal blue and grey and she wanted a bow tie theme.  I had so much fun doing this and I am so excited to meet Benson in a few weeks.

For the decorations I made paper dot garlands, fabric banners, and a tissue paper tassel garland.  I had a bunch of cobalt bottles and vases that I used for the our wedding so I pulled a bunch of them out and added a few orange flowers.  The “It’s A Boy” banner was from another shower Carrie had earlier that she let me use too.

IMG_0178IMG_0189

IMG_0230

When the guests arrived I had them fill out little “Wishes For Benson” cards that I made.

IMG_0199

For lunch we had chicken salad sandwiches, bow tie pasta salad, orange and blueberry fruit bow ties and crunchy Cheetos, with orange creamsicle punch to drink.  I made the napkins and silverware into little bow ties, and made bow tie ribbons around the mason jars for the drinks, both of which I saw on Pinterest, but I was really happy with how they turned out.

IMG_0228

Continue reading

House Tour + Housewarming Party

Things with the house are finally mostly finished, and it feels so good to just be at home.  Both Vu and I often say how much we love living here.  Our latest adventure with home ownership was one that really freaked me out.  We had tent caterpillars.  I get all creeped out and itchy just thinking about it.  Disgusting!!! But it is worth it to be able to have a home we love so much.  So finally here is the photo tour.  Welcome to our home! 🙂

Warning, there are a lot of pictures.  I hope you like it!

The entryway.

Entry (6)Entry (1)

I love the video my church came out with around Easter, “Because of Him”, so I wrote down some of my favorite parts of the text and that is what I used in the quote boards.  I cut 3/4″ plywood to 14×14″ and painted them white, then used a stencil to pencil in the letters until I got them where I wanted them to be and then painted it by hand.  It would have been faster to use a stencil I could just paint through, but I couldn’t find one with simple letters and that would fit all the text I wanted to get on.  It took me about a day to paint it.  The “Because of Him” parts are a 1/4″ piece of board that I cut to 13 1/2″ long and glued on after I painted it.  The nail board is of Angel Moroni, but I want to make the strings thicker, I just ran out of embroidery thread and haven’t gotten more yet.  The bottom middle white piece is 1/4″ plywood that I glued large popsicle sticks to in a herringbone pattern and then painted white and attached a knob to hang something from. The canvas prints I had printed from Costco, their 14×14 gallery wrap.

The main living area’s are on the second floor, and all form one large room.  We really like this layout (except that I have to always have the dishes done before people come over).

Living Room (16)Living Room (10)Living Room (17)Living Room (25)Living Room (28)Living Room (27)Living Room (14)

One of our favorite feature’s of the house is the wood floors.  They are beautiful! Followed closely by the stone backsplash and the cabinet/counter area in the “dining room”.  The builder called it a butler’s pantry, but I wouldn’t call it that.  However I am not sure what to call it.

Continue reading

Magnetic Wood Holiday Board

Holiday Decoration April (6)

I LOVE Holidays! I LOVE decorating!  I LOVE making things out of wood!  And I LOVE changing things up!  So ever since I saw this tutorial a couple of years ago, I have wanted to make one.  I finally had the time (and my own saw) to make it.  I followed the tutorial but with a few changes.

Instead of using one large piece of bead board, I found bead board slats and cut them to the length I wanted and then glued them together.  I did not do this as perfectly as I would have liked and now that I have done it once, I could do it much better a second time around.  But lets be honest.  I never get around to a second time, I always move on to the next project.   So it is good enough.

I also couldn’t find any roof flashings, which is what the tutorial uses for the metal magnetic part.  I don’t even know what they are.  And neither did the lovely people that work at Home Depot.  Every Home Depot employee I asked stared back at me blank faced. So instead I wandered around the store with a magnet looking for flat pieces of square metal.  I found one that was 12″ square, but I have no idea what it is actually for.  It was in the back of the store around the metal plate things that go over your heating vents.  Whatever those are called.  Anyway, I liked the nice even edges and I know from experience that cutting metal with perfectly nice straight edges is impossible, so I decided to keep it that size.  Which meant I decided to make bigger, more elaborate holiday pieces.  To cover more area.  No teeny tiny decoration on a huge piece of metal for me please.  Which means that I turned a 2 day project into a 2 week project.  Yay!  As Vu would attest, this is pretty much how every project of mine goes.  Why would I want to make things simple or easy?  Come on.  But I love the process and the result, so it works for me.  Even if Vu says we will never pay someone how much it would cost me (in time spent) to make it.  Which is also why Vu’s dream of retiring early to run my craft business will never come to fruition.

Continue reading