12 Month’s of Holiday Décor: August

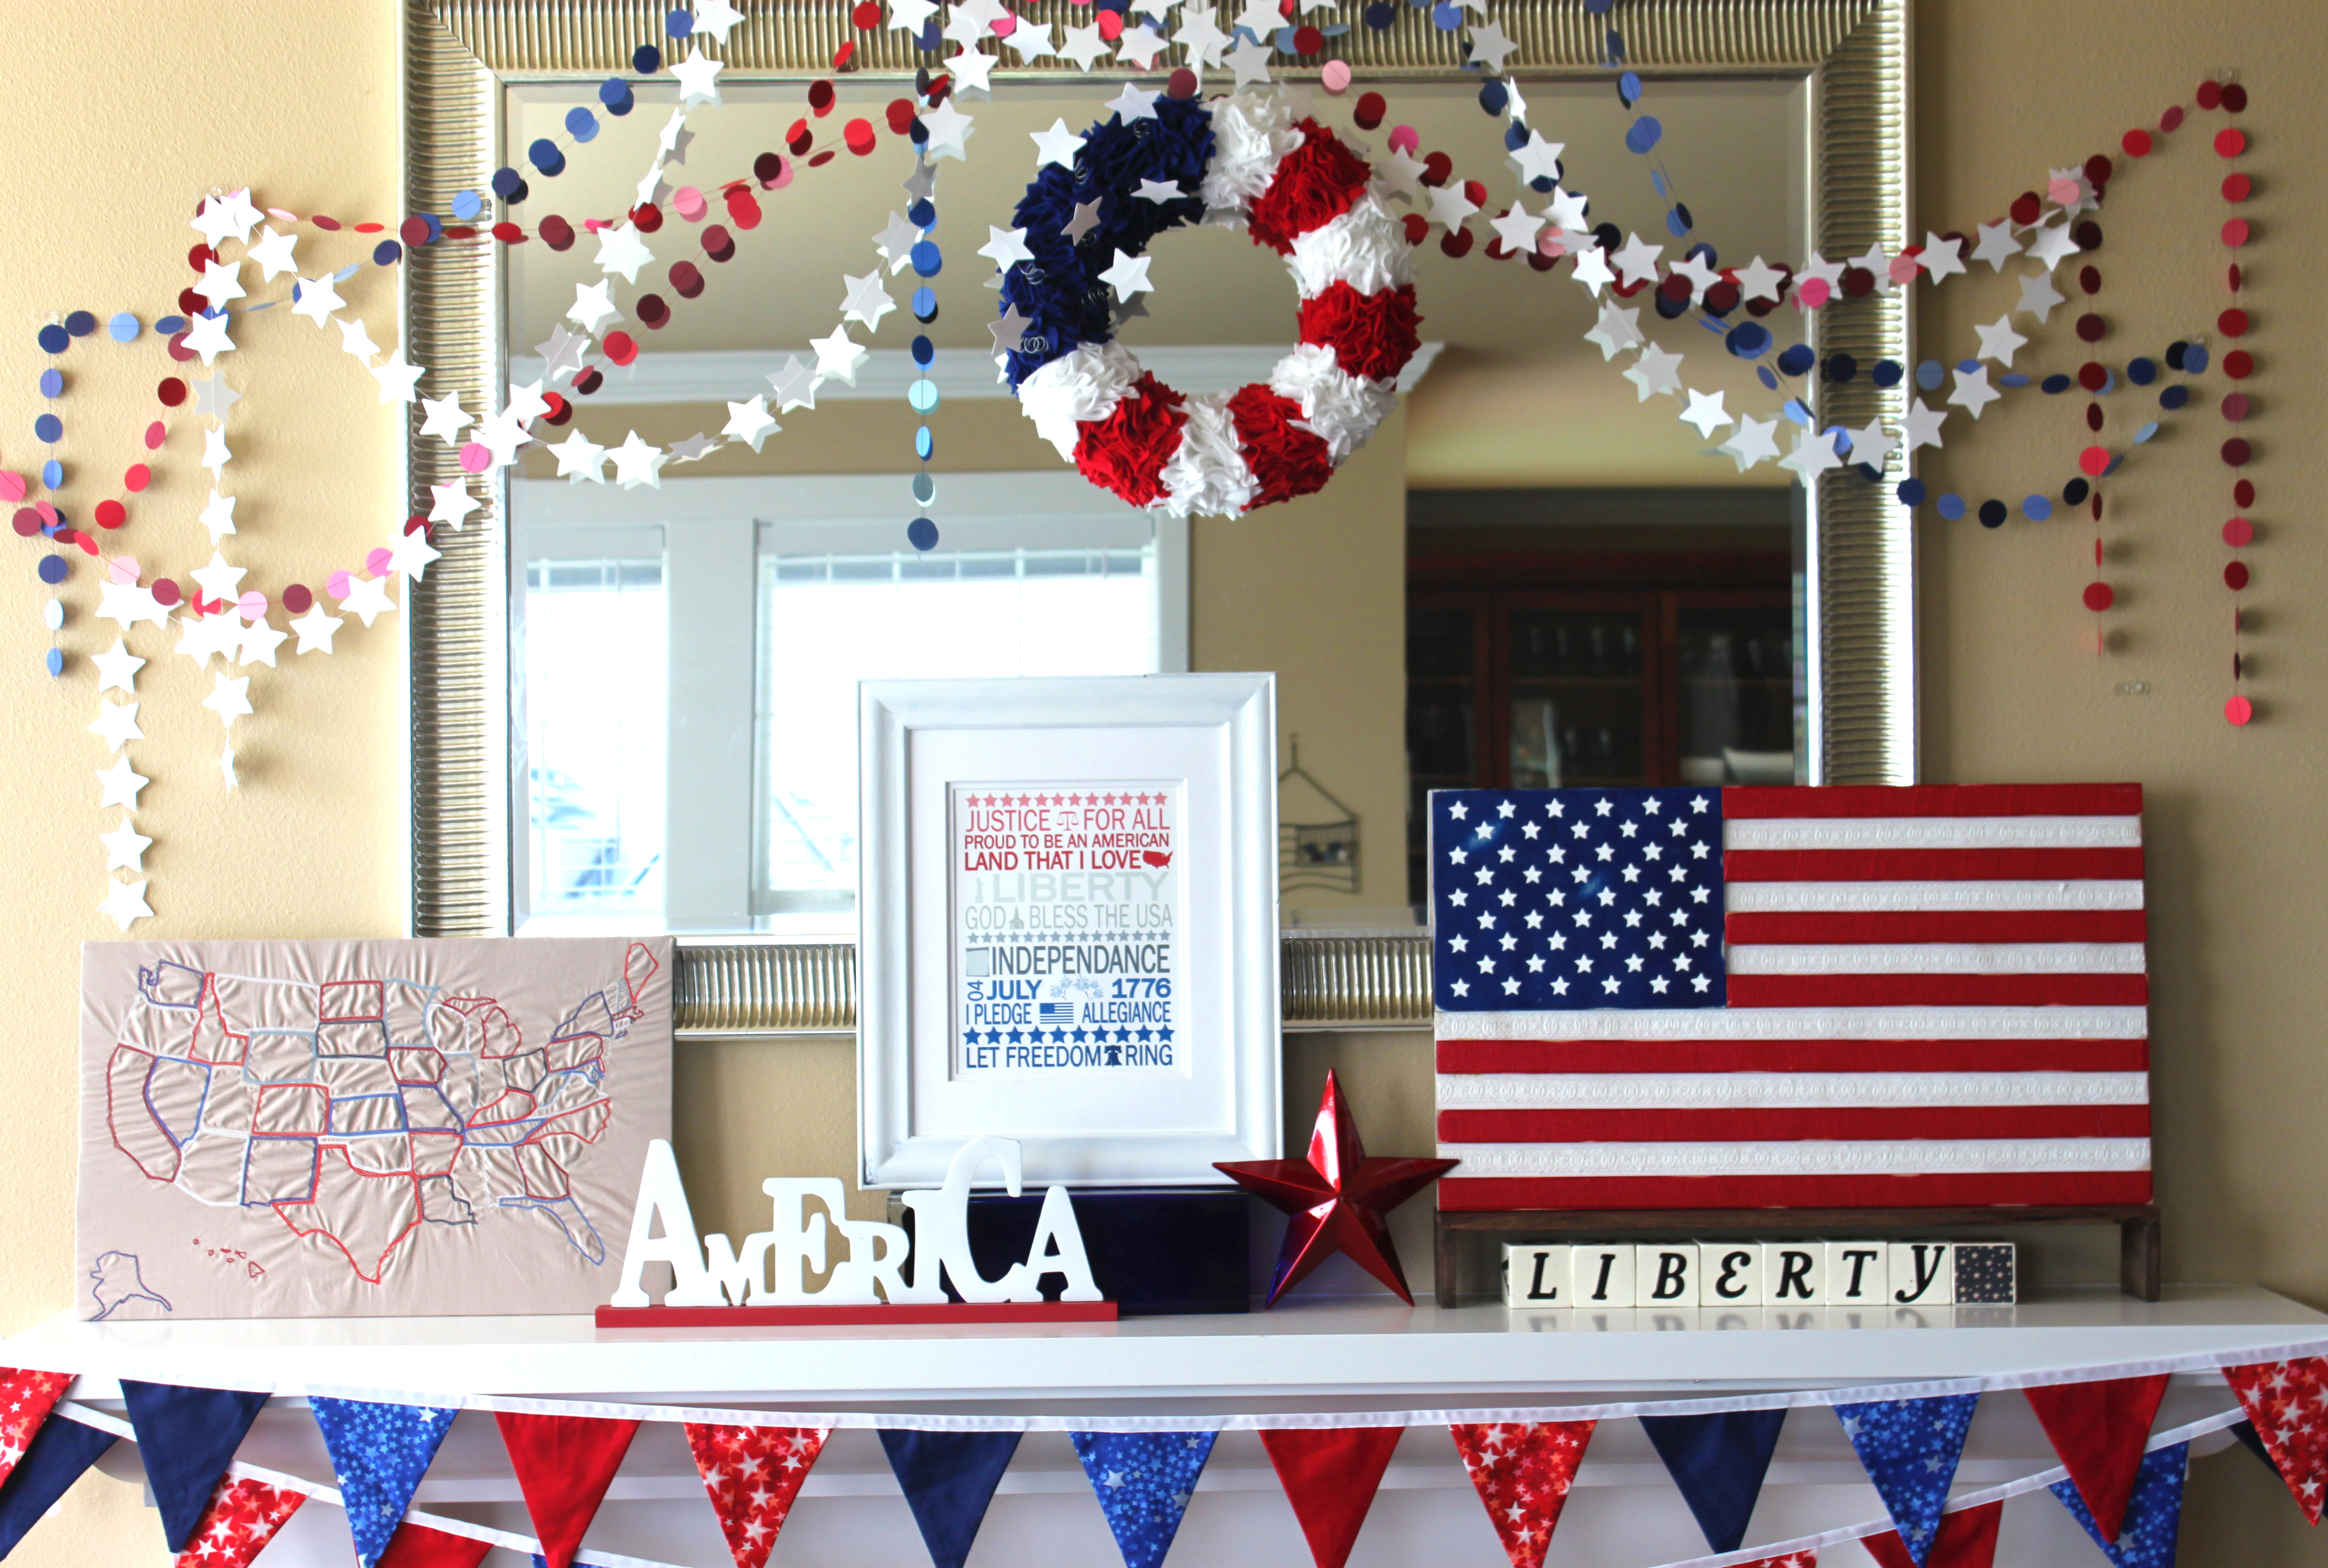
July and the first third of August seem to have just flown by.  Same thing happened last year.  Don’t know what it is about this time of year.  Anyway, so I was at girls camp for my church the last week of July, and I changed out the décor after I got home, but then Vu was off of work all last week and I always seem to get so much less done when Vu is at home… so I never got around to posting it.

August Decor (1)

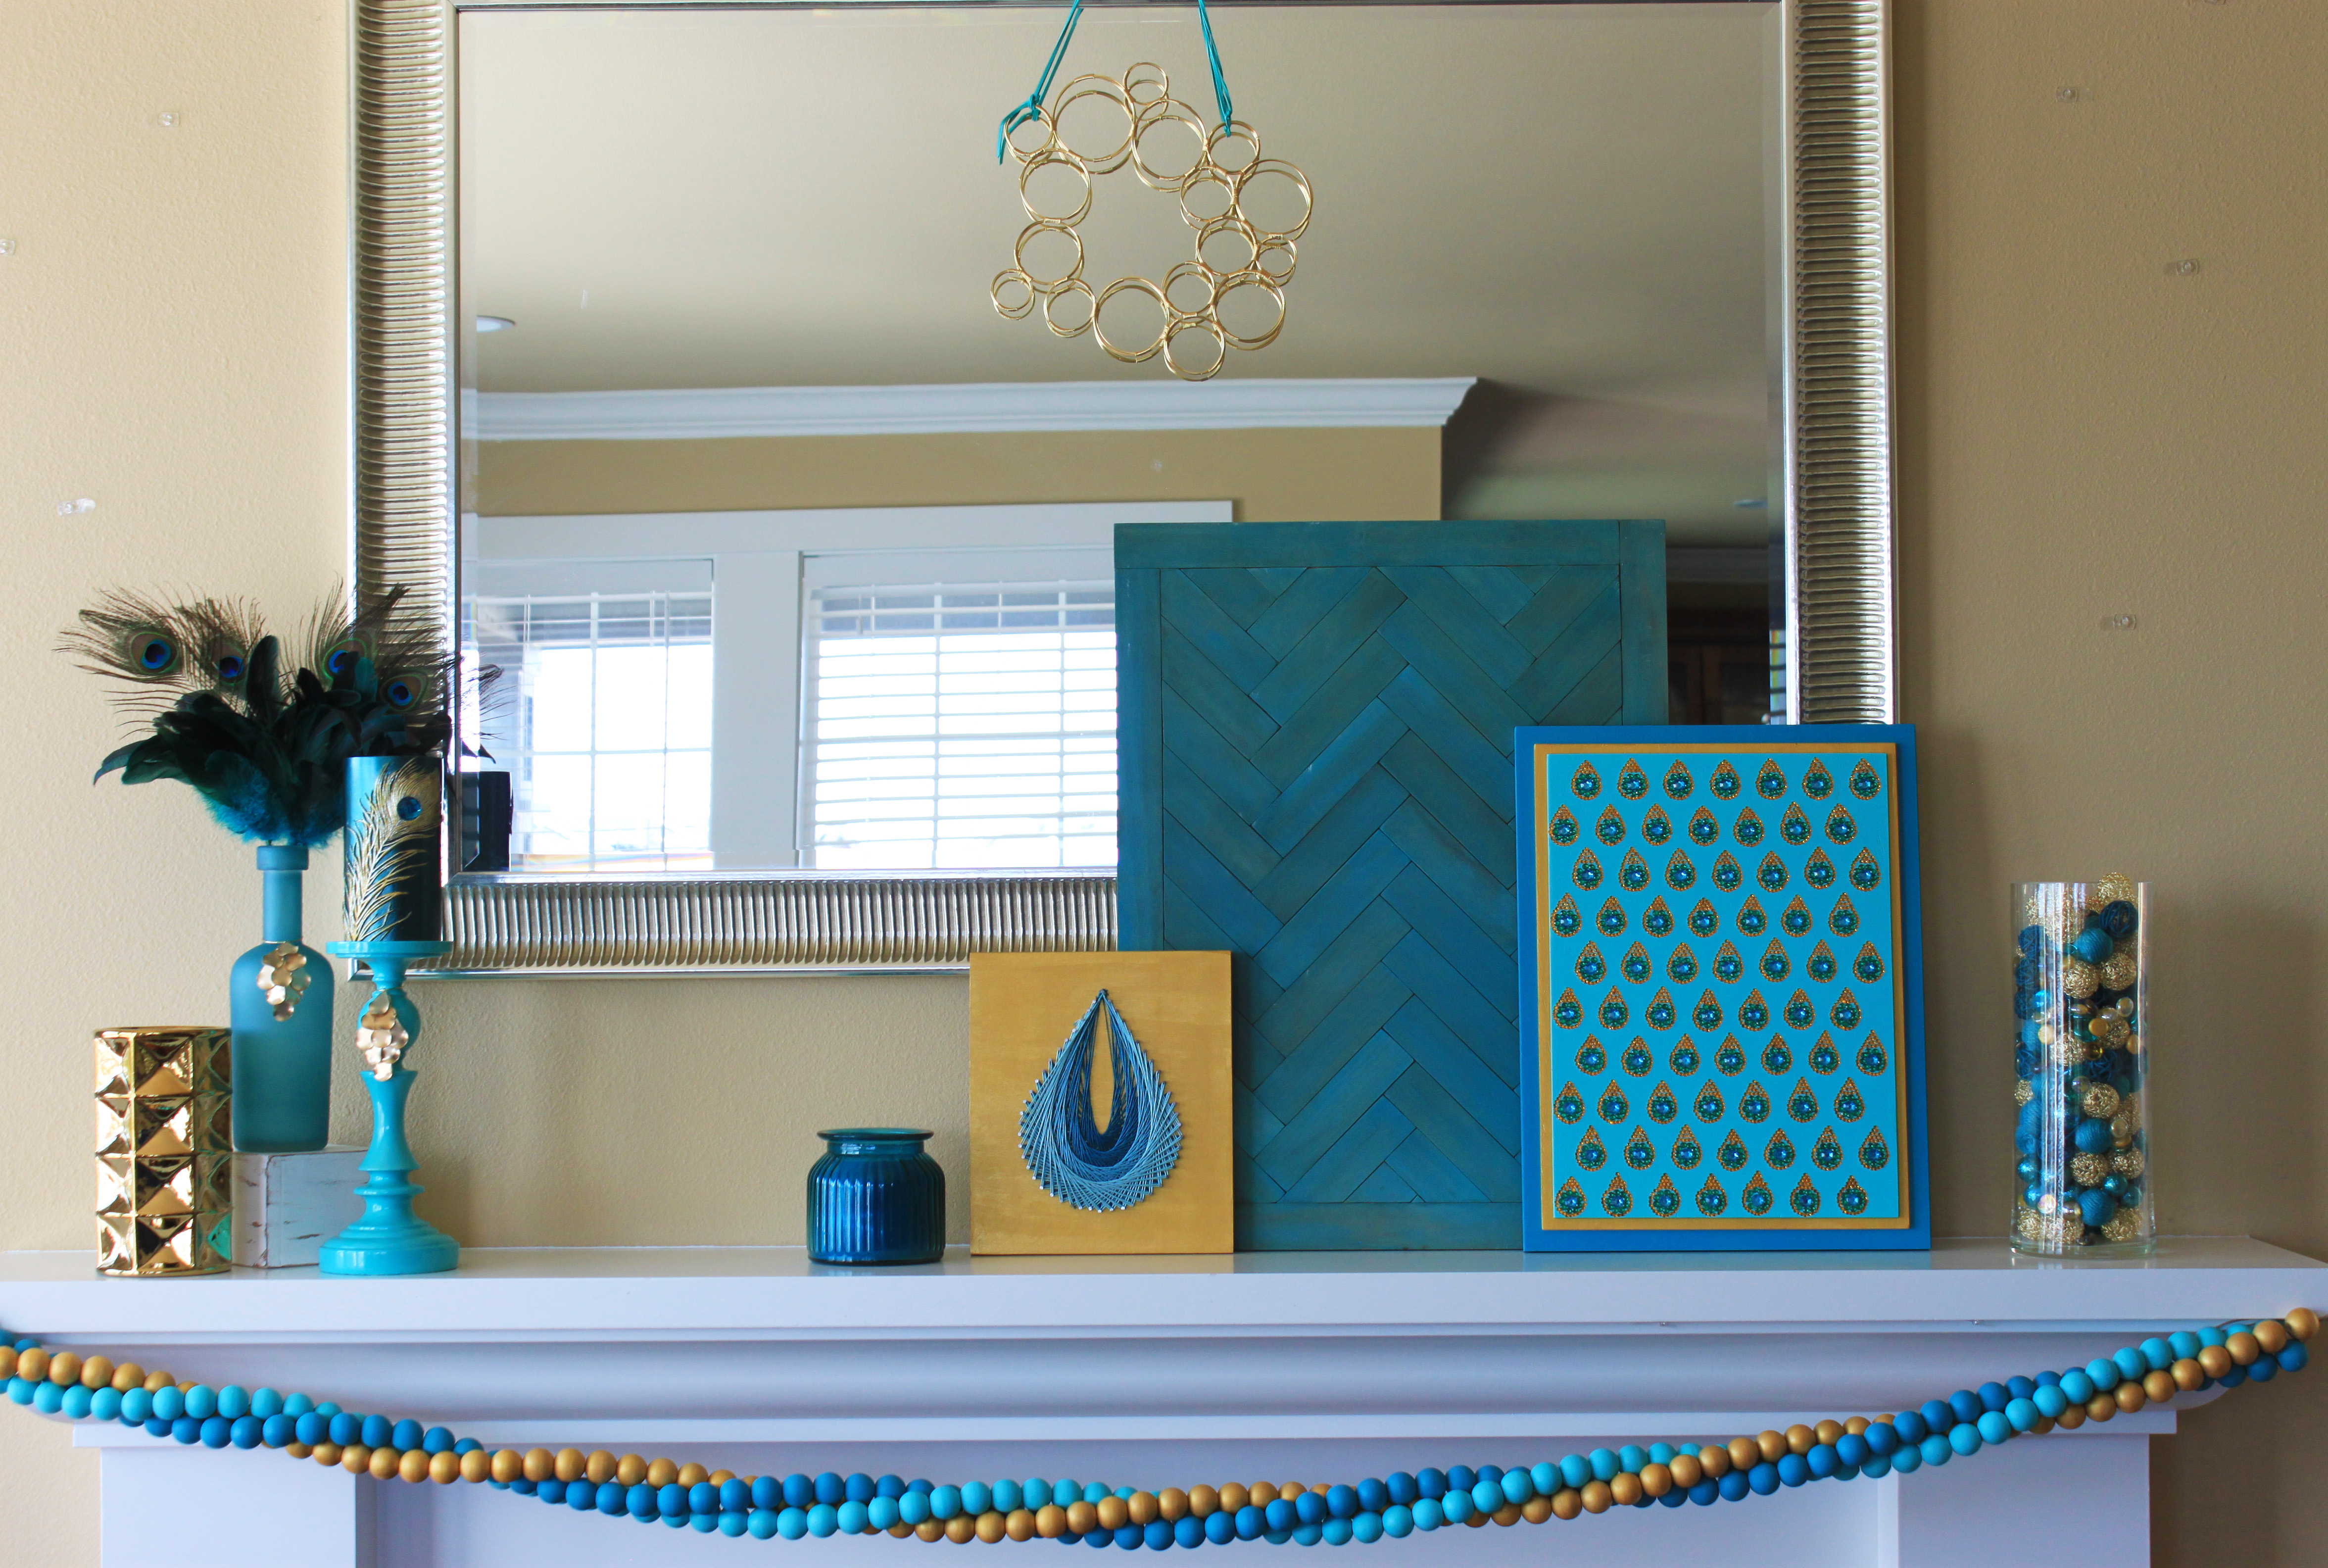
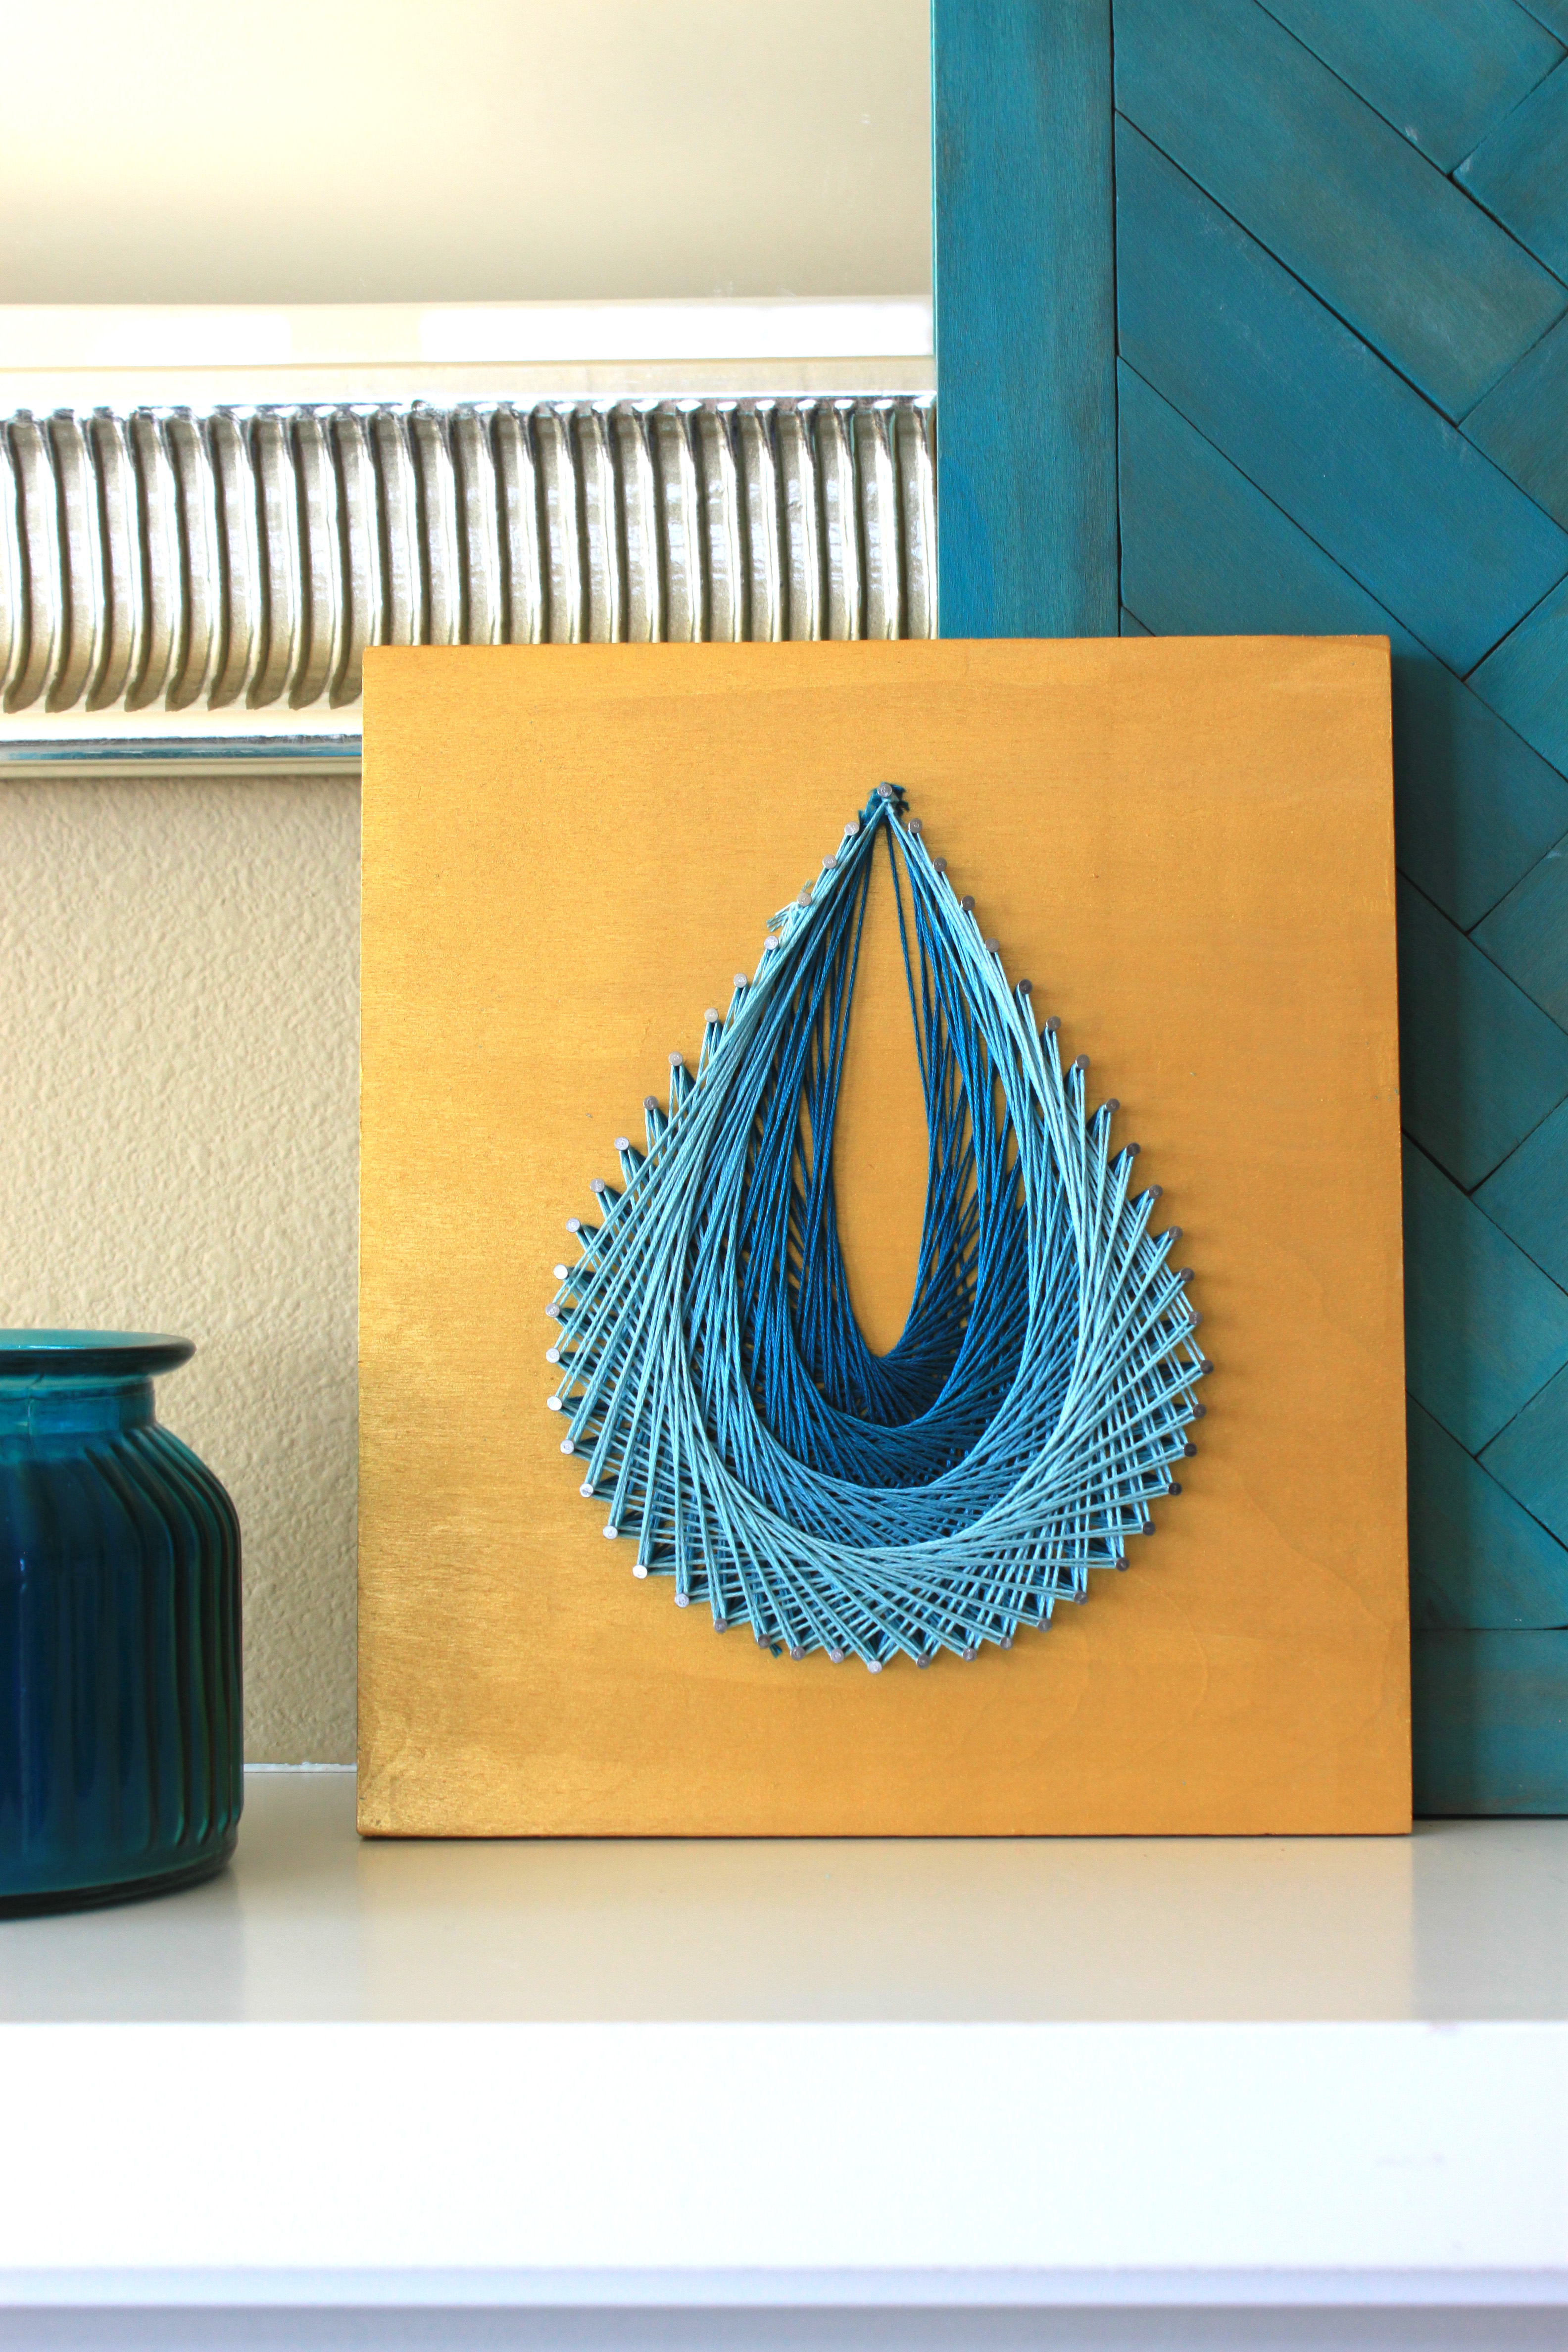
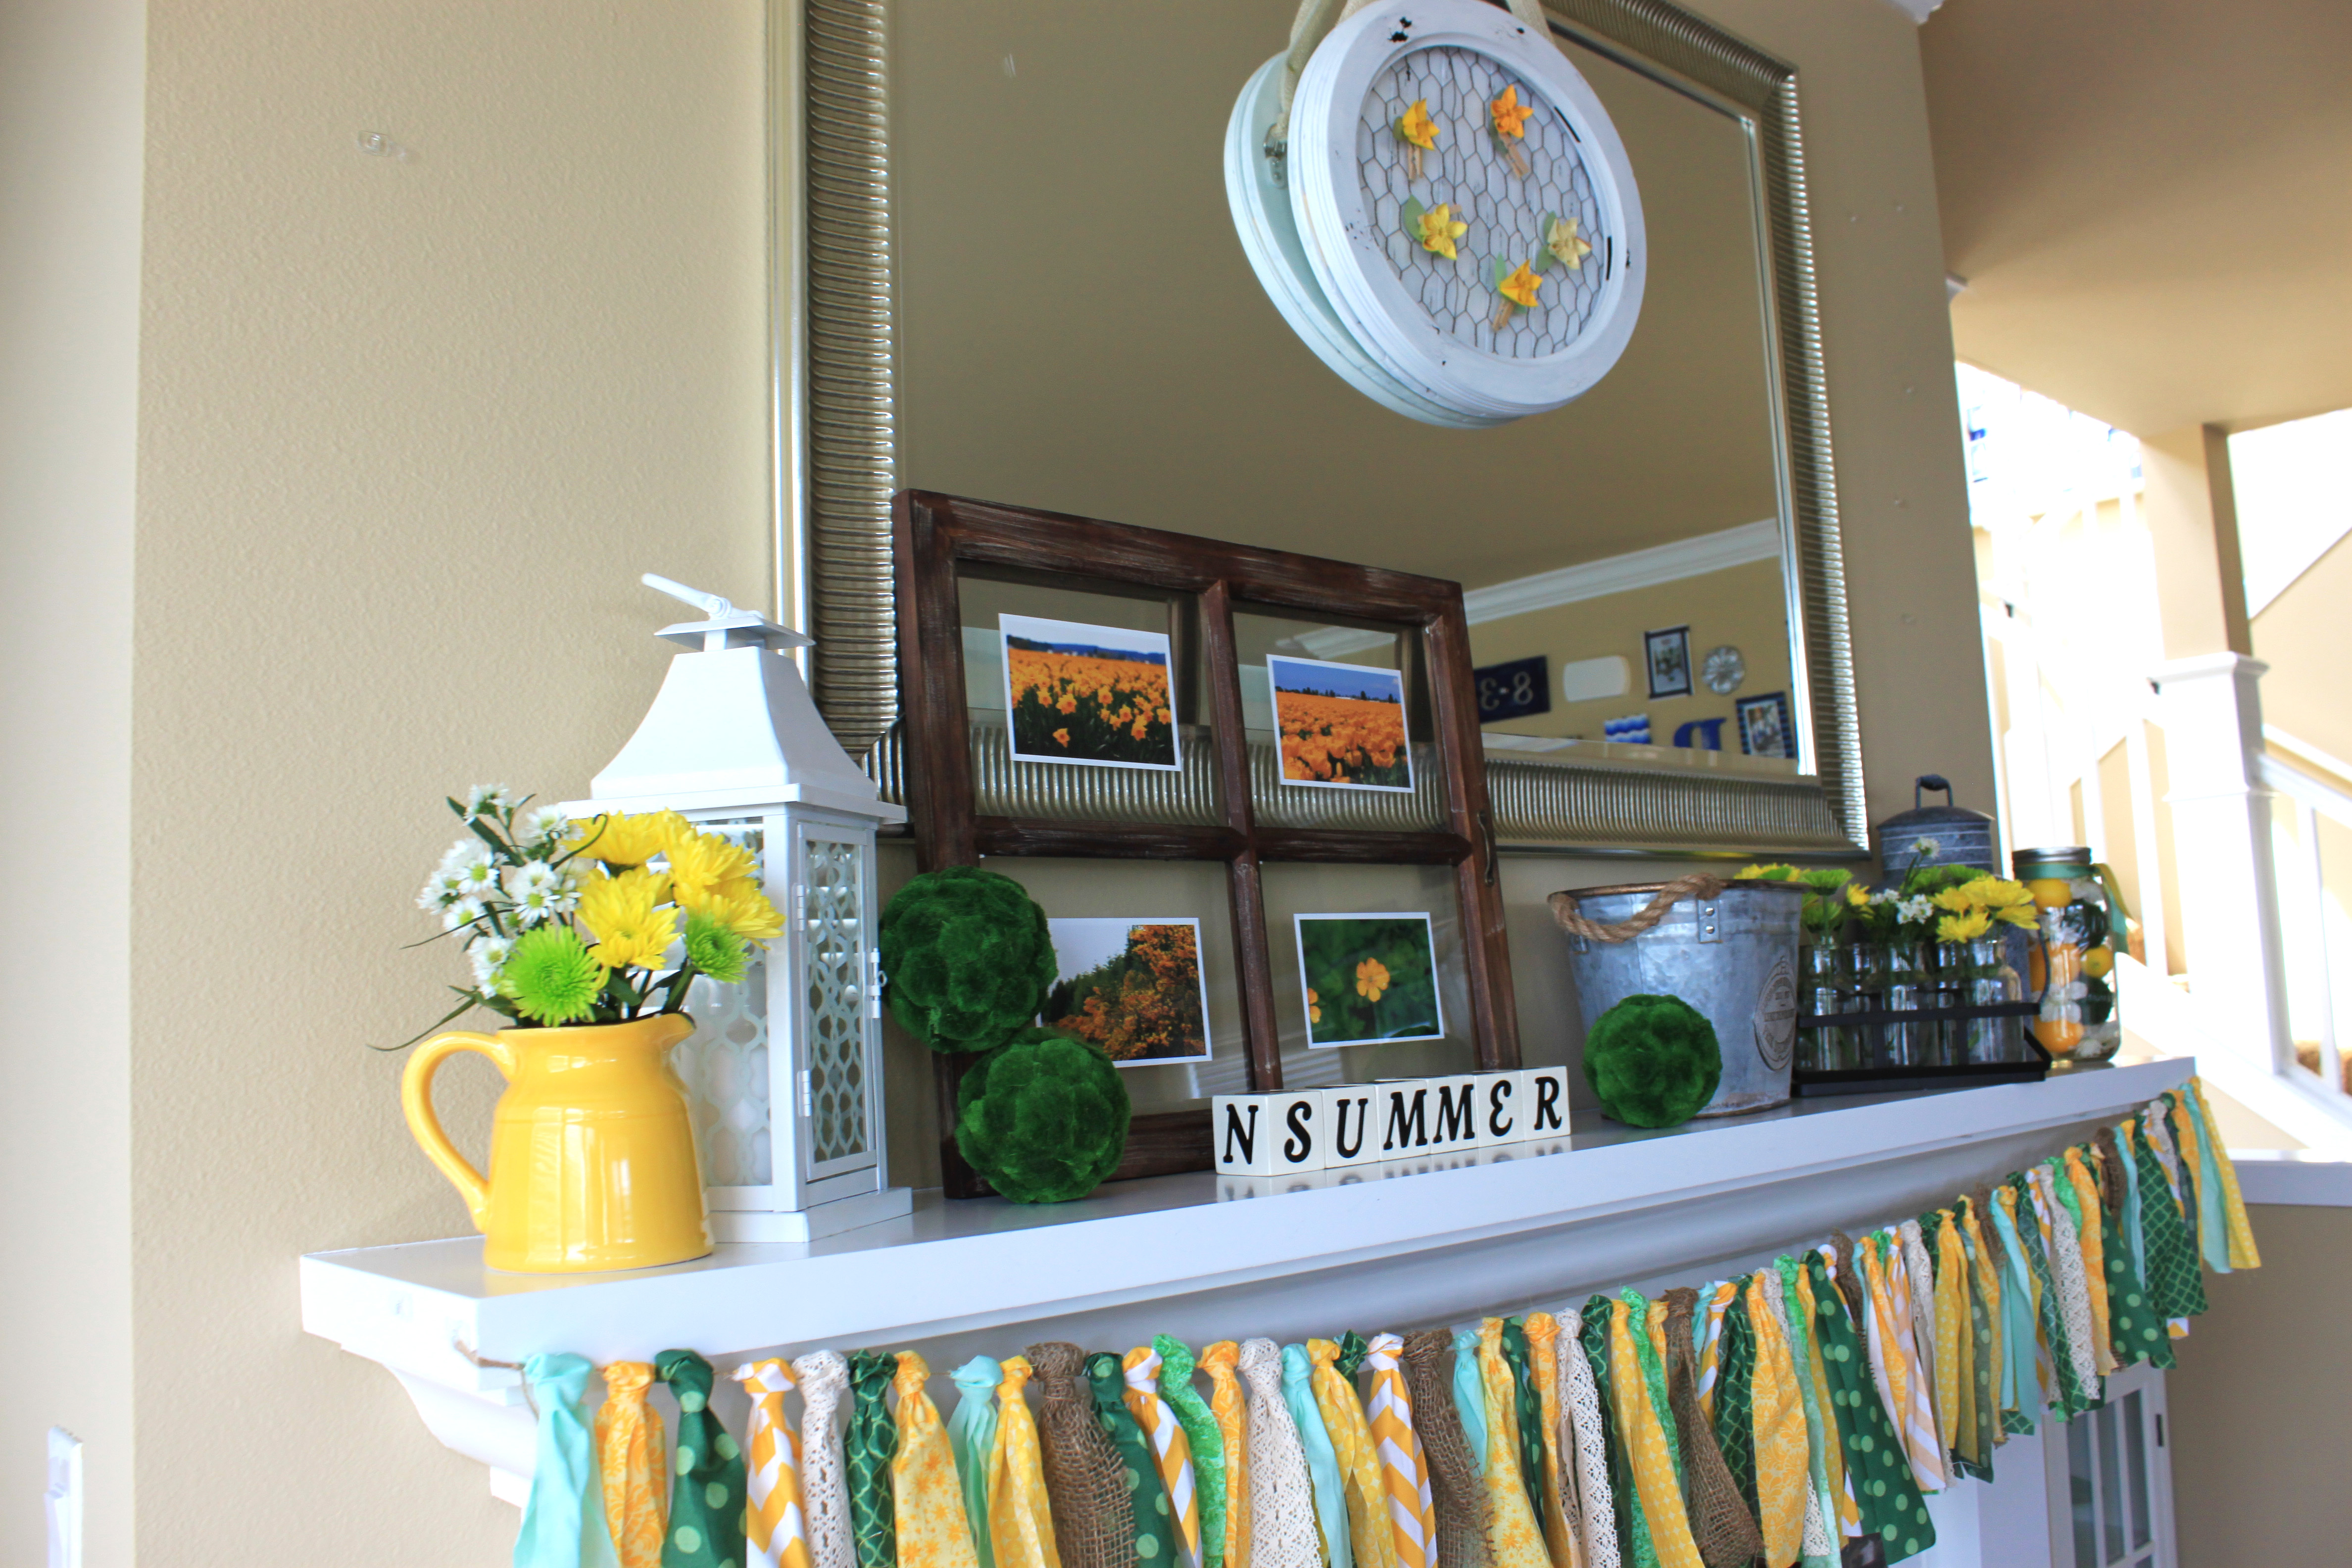
I have had the theme for the August decorations planned pretty much since the end of last August.  And I have explained this chosen theme to Vu numerous times since then.  But each time I bring it up again he asks every single time “now what do peacocks have to do with August?”  And the answer.  Absolutely nothing.  So how did I land on it?  Last year when I made the Magnetic holiday board I was faced with the question of what to use to represent August.  When I thought about it, to me August meant the peak of summer, the heat, the vacations, beaches, pools, blue skies and bright sun, and barbecues.  Then in my mind the color that represented these things was turquoise.  So I painted the wooden magnets turquoise.

August Decor (2)

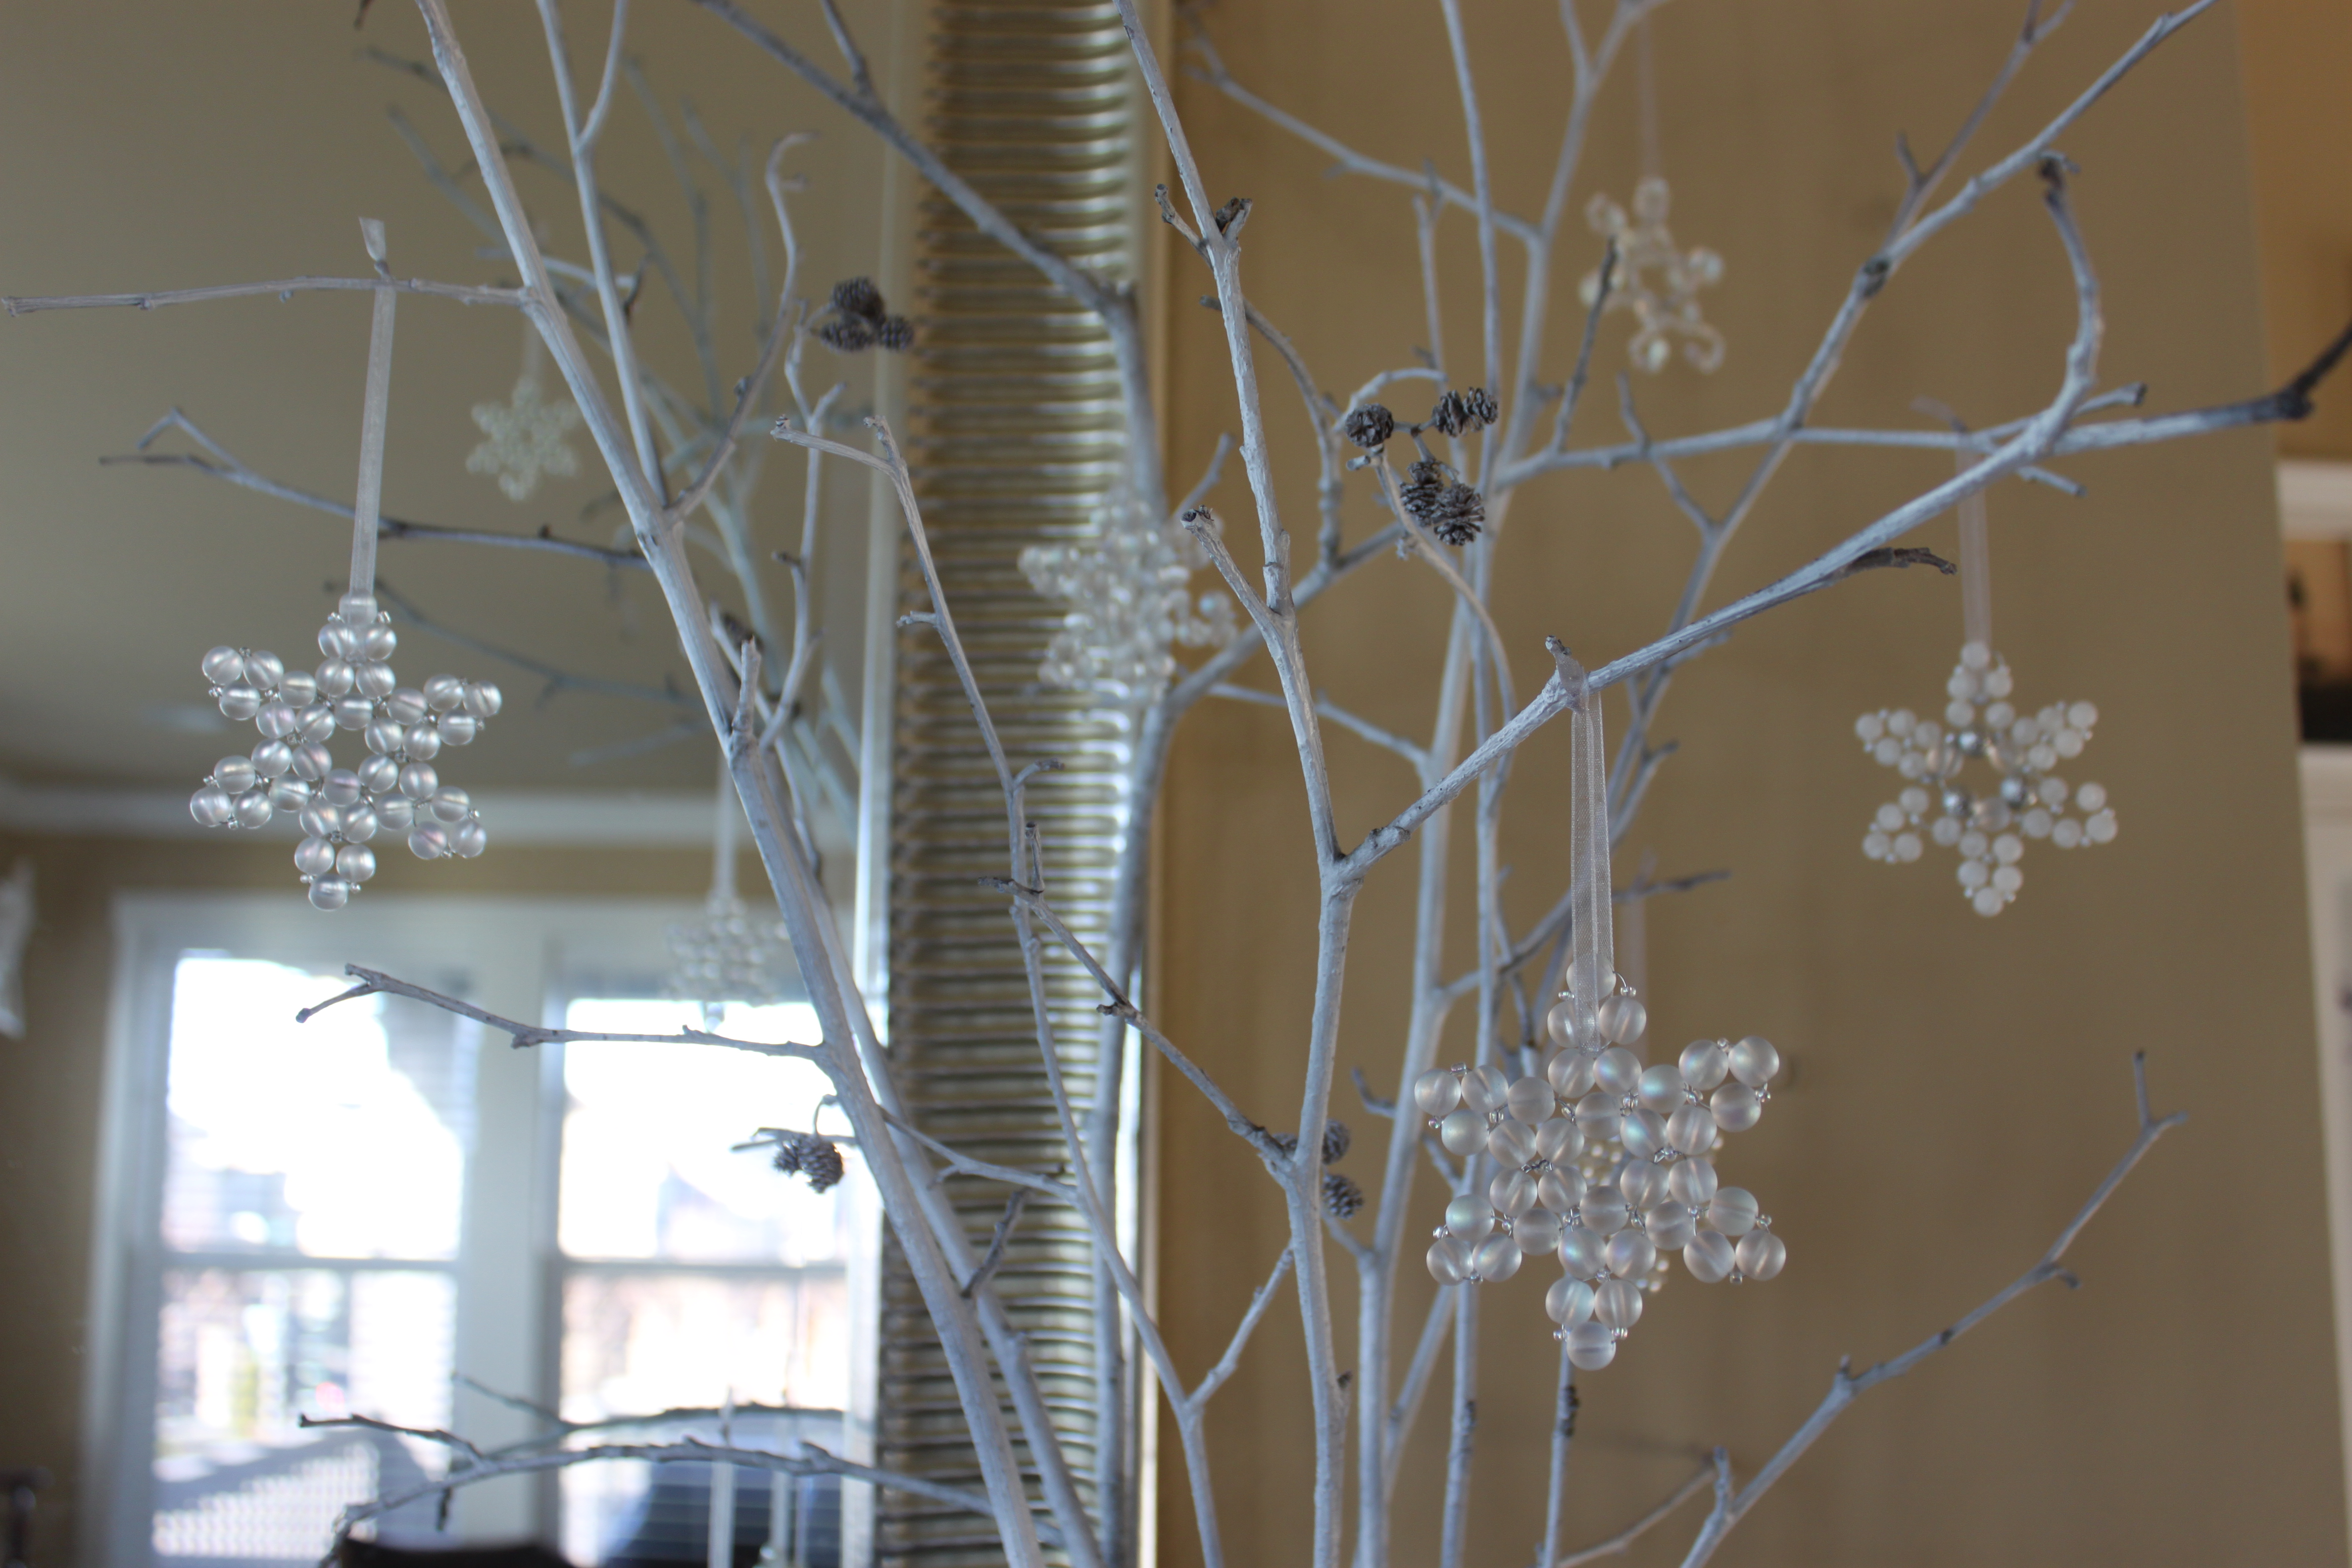
Well from there I decided I wanted to add gold because I had recently started to love gold, when up to this point I have pretty much hated gold my whole life, and it added to the whole sun and sand idea.  So I had a color scheme.  Turquoise and gold.  I also happened to have a few random décor items (like this wood herringbone board) that were turquoise and I wanted to incorporate them into one month somewhere and August felt like the best month for it.  This is pretty much the extent of the association.  Because from there I started to see peacock stuff everywhere and started to love the idea and since the colors I often saw with it were gold and turquoise, and since I don’t really have an everyday décor theme going on, for which I could use peacock, August then became turquoise and gold with hints of peacock.  And there you have it.  You can think of it as my non holiday décor, it just happens to only stay out for one month.  Along the way as I started to collect and make things for it, I also decided to add in some geometric items as well, because they are everywhere and often in gold, and I really like it too.

August Decor (3)

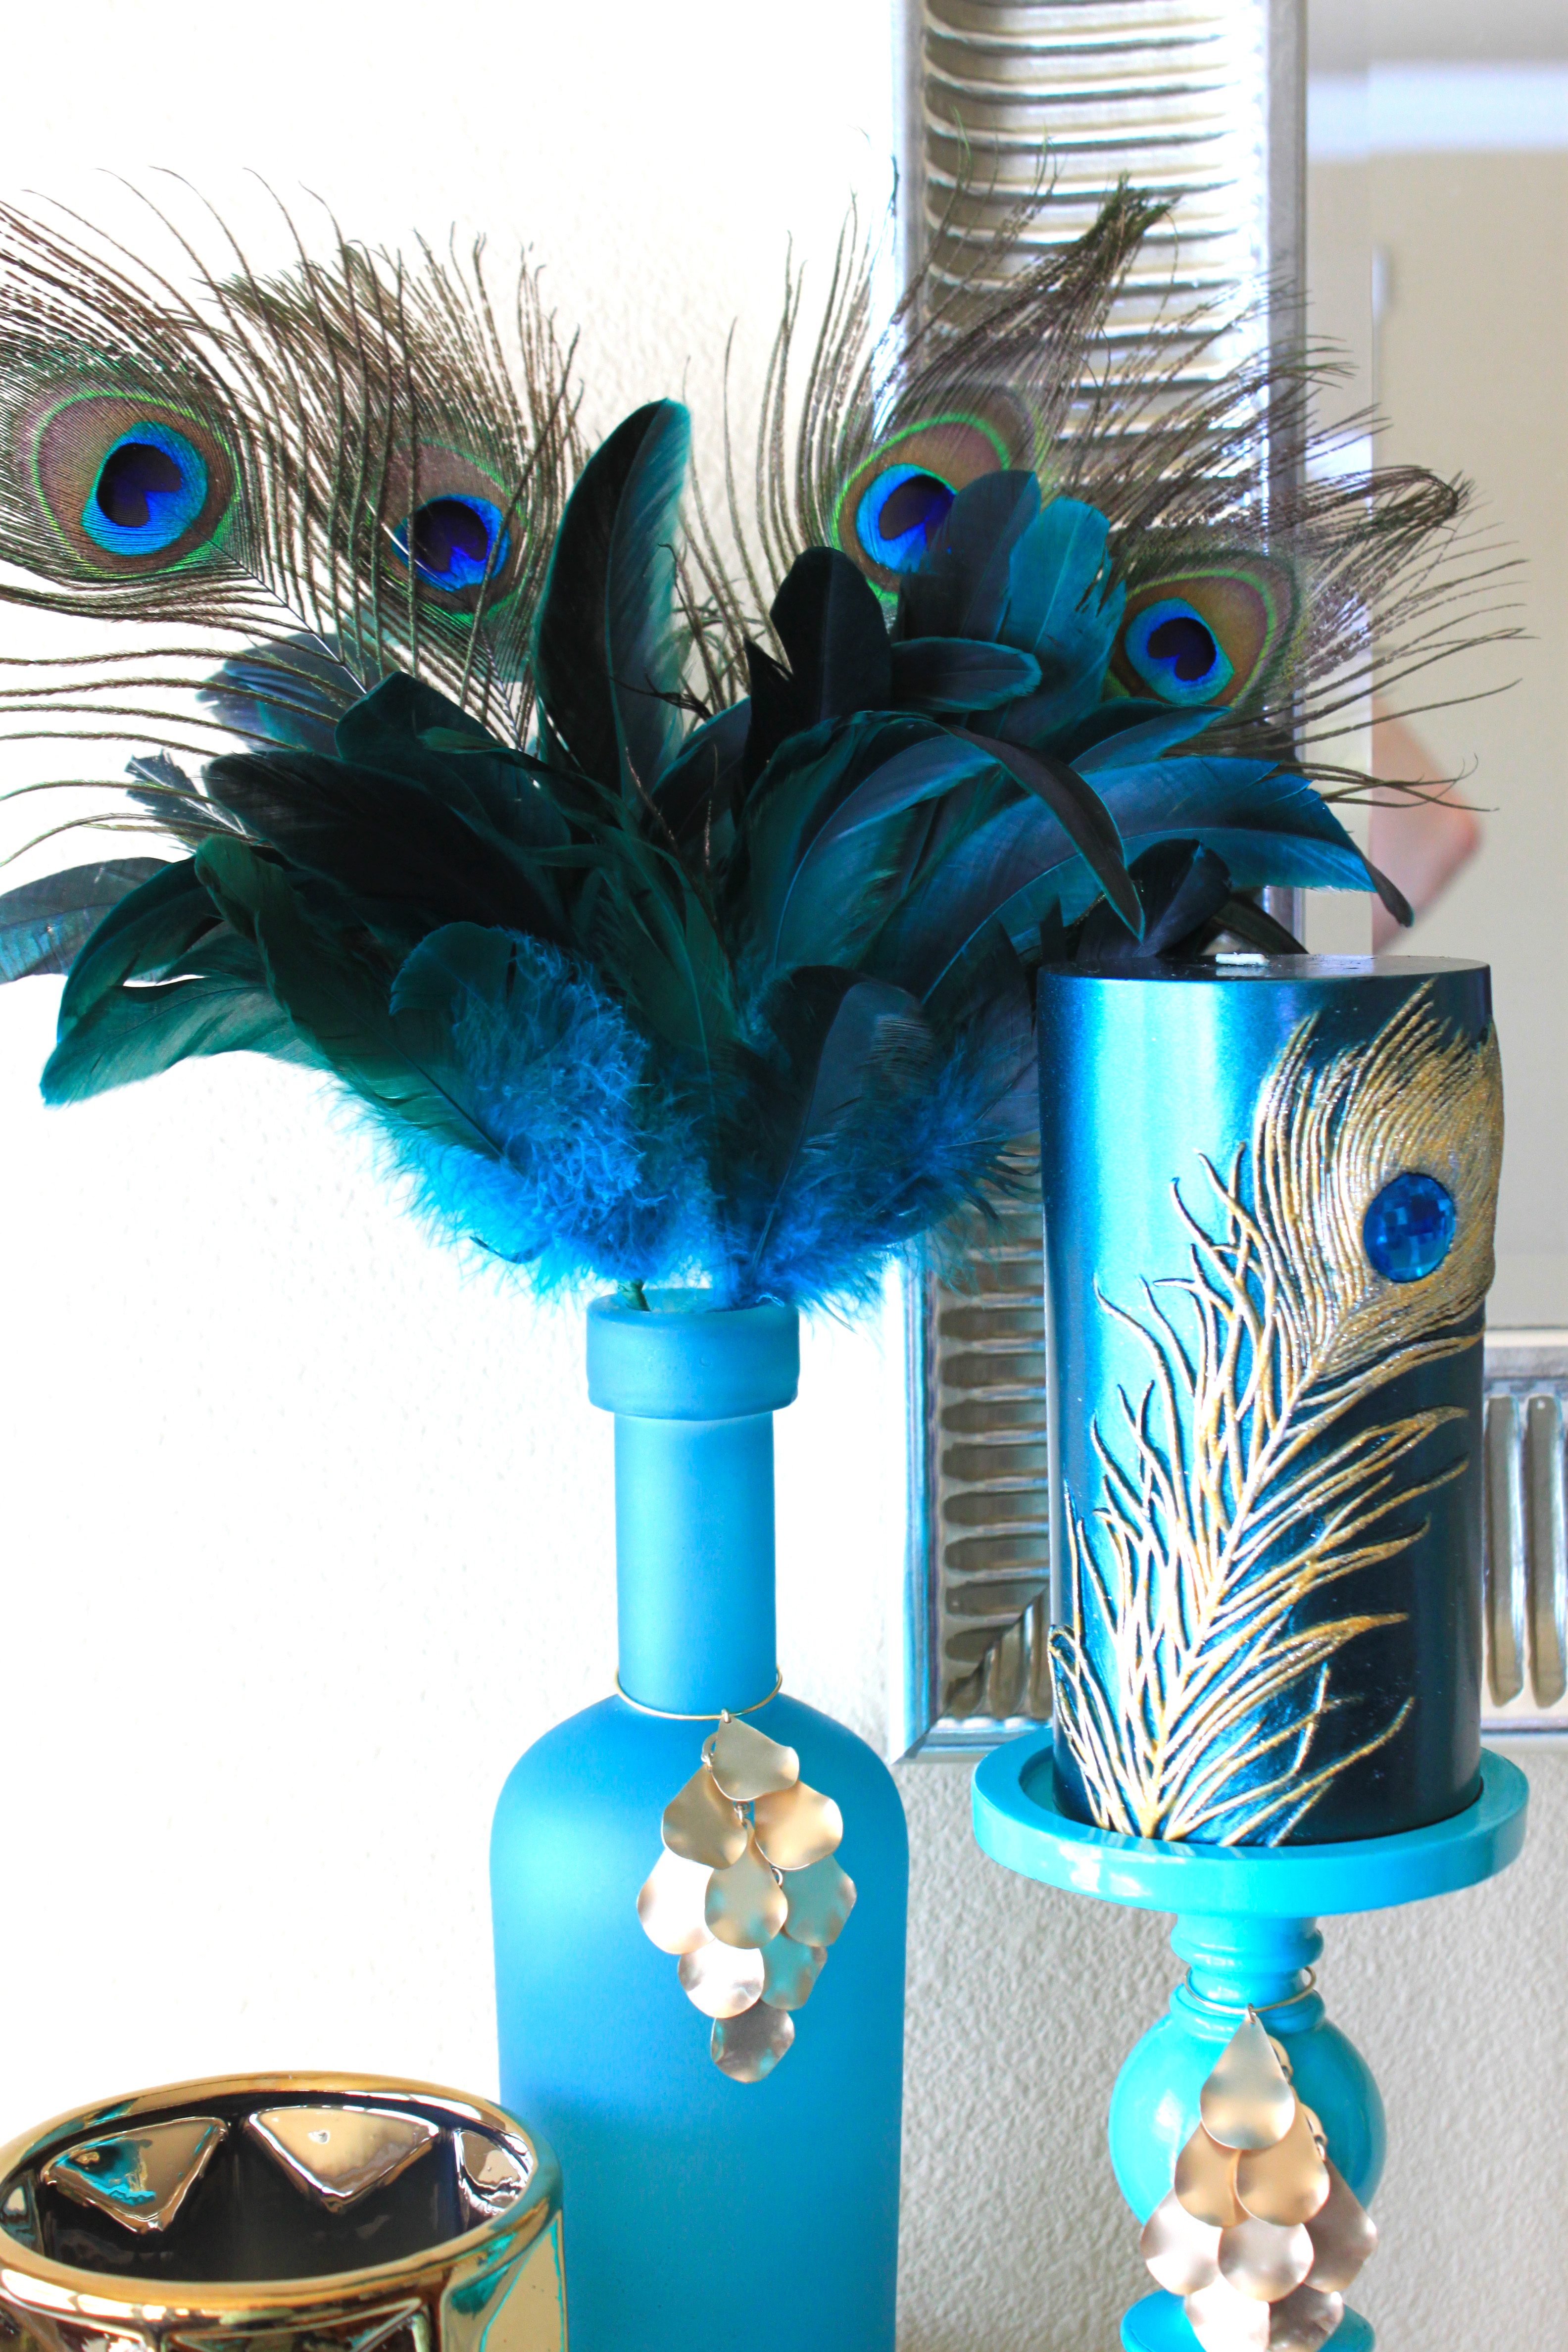
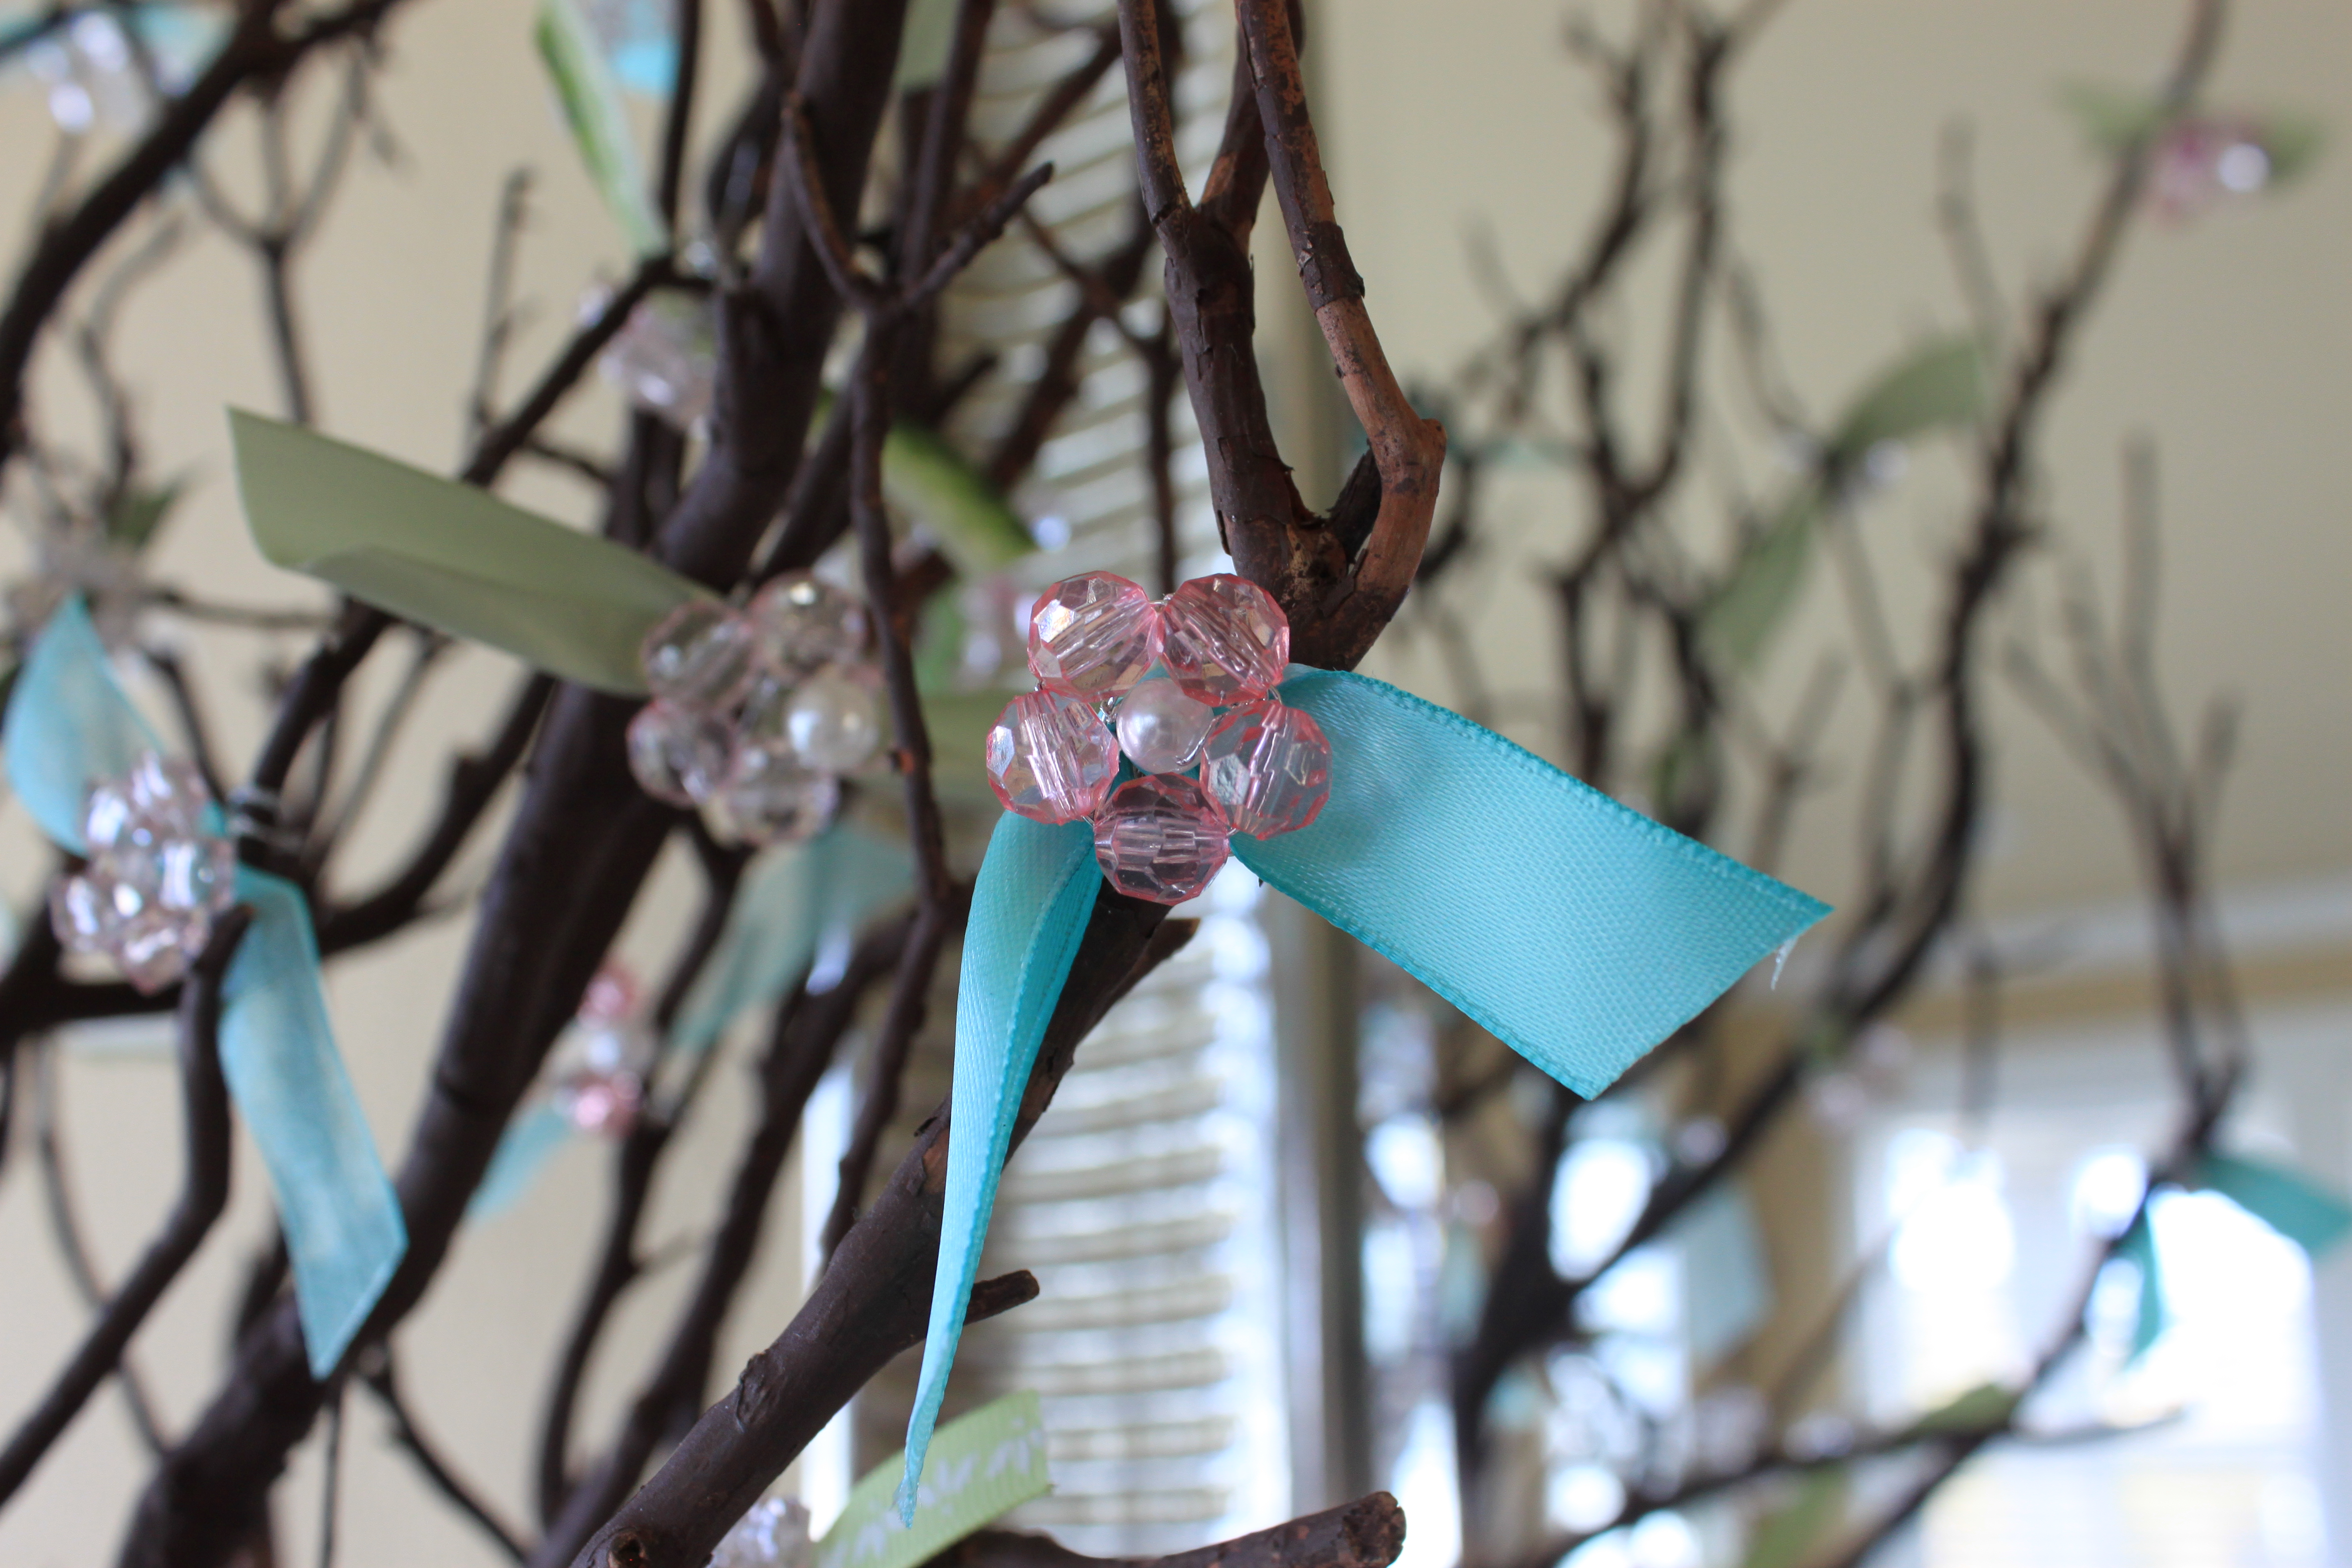
I found these metal tear drop gold jewelry things in the clearance section at Hobby Lobby and since I have often seen the peacock feather made in this shape, I sort of settled on using the tear drop a lot to represent them.

August Decor (4) Continue reading

12 Month’s of Holiday Décor: July

July Decorations (23)

The July decorations is one of Vu’s favorite, I think he would be happy if I left it up all year round and only took it down for Christmas.  He is extremely patriotic.  I actually had most of them finished last year, but because I had surgery on July 1, and was sick before that, I didn’t end up getting them done until towards the end of the month.

July Decorations (4)

The map of the US I made by tracing the map on some cotton fabric and then using different shades of red, white and blue thread I embroidered around each state with the sewing machine and went around each state 6-8 times.  I doubled up the fabric hoping that would prevent the puckering, and it did lesson it, but it still puckered a bit.  I think using some interfacing would have helped, but as I always tell anyone that I am giving crafting advice too, sometimes things don’t go as perfectly as you would like, but you just have to own it and if you can’t change it then decide that is how you like it and you meant to do it that way.  🙂

July Decorations

I made this printed subway art in illustrator and really love it.  I love how each phrase has a graphic that matches it.  I really enjoyed creating this one.  But I am a bit obsessed with Illustrator and love creating anything in it.  I laid one of my square cobalt vases on it’s side and put the frame on top of it to add some height.  The America sign I got years ago from a craft store, but I decided to repaint it this year.  I sanded all of the original paint off because when I first tried to paint it the white mixed with the previous red and made it pink.

July Decorations (3) July Decorations (15)

The flag I made out of 1/4″ thick plywood and some 1/4″ thick poplar board.  The big back piece and the blue stars are cut out of the plywood and then the red stripes are made out of the board.  I got a 3 1/2″ wide board and since I made it last year before I had my own table saw, my friend cut it for me.  He cut the board lengthwise into 3 even pieces so they are about 1 1/8″ wide.  I measured the whole thing before I cut to make it the right dimensions and to make sure it would all fit properly.  After I painted all the pieces I glued the blue board and red stripes onto the back board and then modge podged some lace over the white stripes and some red burlap over the red stripes, to give it some texture.  Vu likes this one best because there are actually 13 stripes and 50 stars.  He thinks all décor flags should all always be perfectly correct…  I set it on the wood insert I made for the May centerpiece to add height, which then fit the letter blocks nicely underneath it. Continue reading

12 Month’s of Holiday Décor: June

June Holiday Decor (1) ps

A few people have asked me about the month’s that have no holiday, what do I do?  June is one of those.  And this one was hard for me, as I mentioned in January.  Early on I decided that I wanted to use yellow and green, because those are the colors that come to mind when I think of the beginning of summer, the sun shinning, the grass being mown.  And then…?  I struggled.  I finally came to the decision that I wanted to capture the essence of Hobbiton.  Nerdy I know.  But Hobbiton feels like perpetual summer to me.  So with that in mind I decided on a sort of rustic farmhouse style.  Maybe a little bit of French farmhouse thrown in there.  Because you know, France.  It’s my obsession.  I must admit though that I am terrible about classifying styles.  So maybe I missed the mark on that, I can’t tell.  But either way the June décor feels like summer to me, soooo I am happy.

June Holiday Decor (2) ps

After I had everything out, minus the fresh flowers, succulents (pictured below) and the paper flowers for the chicken wire wreath, I took a step back and looked at everything.  And was a bit disappointed.  I didn’t love it.  I stared at it for a good 5 minutes trying to figure out why I didn’t love it.  And then I realized.  The way I had it all placed it was all perfectly symmetrical.  So I removed some things, moved others around and it made the hugest difference.  Even Vu could see how much better it looked.  And he does love his symmetry.  Also goes to show how much fresh flowers add to a space.

June Holiday Decor (3) ps

The day that I changed out everything was a really warm sunny day, the first one in this string of warm sunny days we had (which ended today).  So all the neighborhood kids were out riding their bikes and having water fights in their kiddie pools, the crew of guys that mows a bunch of the neighborhood’s lawns was out that day mowing everyone’s lawn, and all the neighbors were out chatting.  The only thing it was missing was an ice cream truck driving around and someone grilling up some meat.  So it really felt like the beginning of summer.  Bring on the frozen lemonade’s!

June Holiday Decor (4) ps

I know flowers in pitcher’s say farmhouse style, Pinterest says so!

June Holiday Decor (5) ps

The very first thing I decided I wanted was a window picture frame with pictures of yellow flowers in it.  When I went to the salvage yard looking for a window for the shelves for March, I also was looking for one for June.  But like I mentioned, they were all moldy and gross.  Shortly after that I was in Michael’s and happened to see this one, and I had a 50% off coupon.  Which made this frame only $5 more than the dirty gross ones from the salvage yard.  For $5 more I didn’t have to do a single thing to it, and since it is actually meant to be a picture frame instead of you know, a window…, each section is double paned and has little holders in the back to make inserting and removing pictures super easy.  I say that is a win, win for me.

June Holiday Decor (6) ps

Milk crate and milk can(?) from Hobby Lobby.  Note the metal pail on the left with the French writing… Continue reading

12 Month’s of Holiday Décor: May

May Holiday Decor (12)

May was really easy because I had it pretty much all done last year for the House Tour.  However, I still wanted to try and change it up, so I mixed a few things around.  I kept trying to think of other things that I could add, but kept coming up blank.  I did add a couple of new things, but that was all I could get.  I do love the new additions though.  For the mantle I changed it up by grouping the bottles and vases together with some candles, instead of having them separated by color and kept them all together on one side instead of one color on each side, and I didn’t put the flowers inside them either.

May Holiday Decor (5)May Holiday Decor (14) May Holiday Decor (6)May Holiday Decor (15)

Just a recap from last year, the bottles I painted with enamel paint, the picture frame has a floral illustrator graphic I created, the branches have bead and ribbon blossoms I made from pulling apart a beaded garland, I wrapped some ribbon around a twig wreath and made a couple of small triangle fabric banners. Continue reading

12 Month’s of Holiday Décor: April

April Easter Decor

I shared a little glimpse of the April décor last year at the end of this post.  It was the first month last year that I really got around to holiday decorating, despite my goal to do it monthly (technically I decorated for March last year, but it was very poorly represented, there really wasn’t much).  Which meant that it was the first month this year that I didn’t have tons of projects I was working on the month before.  Which was nice because I used a lot of March to do some much needed organizing.  This month is going to be a bit tricky in the coming years because I wanted it to be Easter, but since Easter is sometimes in March, that won’t work out very well for the April décor.  Like next year for example, when Easter is March 27th.  I will have to figure out something else for next year.  Maybe the May stuff will be up for April and May.  And because Easter is so early in April this year, the Easter decorations are going to stay up a quite a while after Easter.  Oh well.

So for April I decided that I wanted to use purple as the primary color for the month, to represent Christ because it is the color of Royalty.  And because purple is a spring color.  I had this ribbon garland that I used for a birthday party for me and Rachel a few years ago, so I started with that and hung it over the top of the mirror.

April Easter Decor (1)April Easter Decor (4)

I made 3 of the rhinestone eggs last year.  I used a tutorial I found on Martha Stewart, but I can not find the post anywhere now.  Here is the picture from my Pinterest board.  I basically just glued the rhinestones onto a wooden egg.  I made three more this year too.  Last year I also painted 3 of the same wooden eggs in ombre purple.  I was trying to decide what to do with them and Vu suggested the ombre paint.  There is his contribution to the décor.  🙂  He was/is very proud of himself for that one.

April Easter Decor (5)

The “Christ the Lord is Risen!” sign I made at a church craft activity this past October.  I cut 3 pieces of cedar board 13″ long and then glued them together onto a couple of thin boards.  Then I white washed it and the words are vinyl that were ordered for me for the activity.  I used my wooden trough box and flipped it upside down to add some height. Continue reading

12 Month’s of Holiday Décor: March

March Mantle Decor

I think this is my favorite month yet, from both last year and this year.  I love how it all came together.  I love the color mint and last year I decided I wanted to use mint for the St Patrick’s decor, but I didn’t get very far.  I found the glass ornaments for 80% off after Christmas last year and used them as a starting point.  I tied on some fishing line and then hung them across the top of the mantle and mirror.  I recently discovered Jadeite and immediately fell in love with it, and it fit perfectly with the mint theme I was looking for.

I saw this shelf/hutch thing, whatever you want to call it, on Pinterest and loved it; I knew I wanted to make one for myself.  I went to the salvage yard looking for a cool window to use, but they were all broken and dirty and moldy, so I decided to just try and make up one myself.  I have realized I have a hard time with some repurposing, I have a strong aversion to cleaning up certain things and often prefer to buy the raw materials for what I want and to make it look “rustic”.  I know, I know, it is funny to some people (and by some people I pretty much just mean men) to take something new and make it look old, but what can I say, I like the look but I like clean things.  I ended up using some trim and sort of created a window look.  I assumed it wasn’t going to be easy to create the whole thing from scratch, but it was difficult in different ways than I expected.  I made a set of shelves and then nailed the bead board and trim onto it.  Then I stained it, applied some Vaseline in certain spots then painted it all in white.  Once the paint was dry I scraped off the paint in the areas where the Vaseline was, to get the aged look.  I am really happy with how it turned out.

Distressed shelf and Jadeite

I have been collecting the jadeite and other mint and green items since the beginning of January from various stores and websites, and I already had a couple of items.  I especially love the Jadeite cake plates and teacup.  I made the 17 block (for St. Patrick’s day being on the 17th of March) with some metal house numbers from Home Depot that I spray painted gold and attached to a block of wood that I painted white.

March MantleWooden Shamrock Continue reading

12 Month’s of Holiday Décor: February

Valentine Decor (7)

Yay it’s February!  So excited that I am still 2 for 2 for the holiday decorations.  I am really happy with how February’s decorations have turned out.  I hardly had any Valentine’s decorations before, but I spent very little money on this, plus almost everything that I did buy was on sale or on clearance.  That always makes me (and Vu) happy.

Valentine Decor (6)

I made the 4 heart blocks a couple of weeks ago.  I was planning on making my own “Love” sign but then I saw this one at Joann’s that I really liked and it was 80% off… so I just bought it instead.  (Also I forgot to add that the letter blocks that were also in January’s décor I made a few years ago using this tutorial.)

Valentine Decor (3)

I have really gotten into embroidery the last year and wanted to make something for Valentine’s day too.  I love tree’s and I have seen so many variations of the initials carved into a tree so decided that is what I wanted to do.  I have to be honest, I don’t love how it turned out.  There are a number of things I would like to change about it, so maybe another year I will redo it.  But I like it well enough for now.  I kept the branches from the January décor and added some sequin “branches” to them.  I took pieces of wire and twisted pink 20 mm round sequins onto them and then twisted them around the tree branches.

Heart Banner (1)

The heart garland is one of my favorite things, I love how it turned out.  I had some scraps of beige muslin left from another project so I cut them into 4.5″ x 5.5″ rectangles, then sewed a zig zag stitch around the edges to prevent fraying and to give it a little bit of a rough edge.  Then I printed out a paper heart to use as a template and pinned it to the different pink fabrics (fat quarters from Joann’s that I got 50% off) and cut out around it then sewed the fabric hearts onto the muslin.  I found some matching ric rac in a huge stash of craft supplies I “inherited” from my Grandma when she died (craft supply hoarding may be a family trait…my mom has a lot too…), and I used that to sew along the top to make the garland.  I love it with the ric rac.  It was a really easy project. Continue reading

Valentine Heart Blocks

 Valentine Heart Blocks (6)

I have finished my first Valentine project and I am very excited about it.  I loved the snowflakes blocks that I repainted for the January décor so much that when I was thinking of ideas for Valentine’s I really wanted to make some more.  This time I made the blocks too.  I wanted to make 4 of them with different colored hearts on them instead of the snowflake and then I added some Valentine words to them as well.  The snowflake ones have a small space between the pieces of wood on the face of the block, but for these I wanted them right next to each other.  I like that I can keep all four of the blocks together, or I can split them up and place them wherever I might need them. Continue reading

12 Month’s of Holiday Décor: January

IMG_1107

I’ve mentioned before that I love changing out decorations for holidays.  Well when we moved into the house a year ago (can’t believe it has been a year) I was thinking about what to do on the mantle for January and decided that I wanted to have something different for each month of the year.  I didn’t get a very good start and didn’t really get anything specific up for January or February (I was still trying to get everything unpacked and organized), but I started in March.  I had some things for the month’s with the bigger holidays, but not much for every other month.  I ended up getting 7 out of 12 (but let’s be honest March was not up to standard…I also don’t love the current set up for November) and many of my completed 53 projects in 2014 were Holiday and home décor.

So this year I really wanted to get every month. I already have a pretty good start, so hopefully it will be manageable.  I noticed last year that what I did have before for our apartment didn’t go far in the new house, which is partially why I only got 7.  I found that I have this problem.  I see something in the store and like it except for maybe it isn’t the color I want, or it’s a good idea but cheap materials, or I want it a little bit bigger, or smaller, or I wish it didn’t have that one thing on it, or…  So I think, “I can make that” and then it will be exactly how I want it.  Which I usually can do.  But that takes time.  And let’s not even get into all of the good ideas found on Pinterest.  And for some reason Vu thinks that he likes it when I make dinner, clean the house and do laundry.  And here we are at 7 for 12.  On to 2015.  The main goal is the mantle and something on the dining room table, with anything extra I can get around to on the coffee and end tables, cabinets on either side of the mantle and the piano. We will see how it goes.  I have many plans in place.  (But not for June.  I am currently stumped for June…the only thoughts I have so far are green and yellow…we shall see.)

So after the busy-ness of Christmas died down (and I got my energy back after having the flu/pneumonia, which I didn’t give to any of our house guests we had the whole time I was sick thank you very much), I started to think about January.  I was discussing it with my sister Rachel, and decided I wanted to do a Winter theme.  I already had some items from a blue and silver mantle I made a few years ago, and I think blue and silver are nice winter colors so I decided to start with that and then just add in some snowflakes to make it more “winter”. IMG_1069 IMG_1071

I had some pine cones I didn’t end up using for Christmas, so I spray painted them mostly white.  I took a walk along the path through the greenbelt down the street from our house and picked up some branches off of the ground and also spray painted them white.  They even had some cute tiny pine cones hanging off their branches.  Then I made some beaded snowflake ornaments (thanks Pinterest) to hang from the branches.

IMG_1076 Continue reading

House Tour + Housewarming Party

Things with the house are finally mostly finished, and it feels so good to just be at home.  Both Vu and I often say how much we love living here.  Our latest adventure with home ownership was one that really freaked me out.  We had tent caterpillars.  I get all creeped out and itchy just thinking about it.  Disgusting!!! But it is worth it to be able to have a home we love so much.  So finally here is the photo tour.  Welcome to our home! 🙂

Warning, there are a lot of pictures.  I hope you like it!

The entryway.

Entry (6)Entry (1)

I love the video my church came out with around Easter, “Because of Him”, so I wrote down some of my favorite parts of the text and that is what I used in the quote boards.  I cut 3/4″ plywood to 14×14″ and painted them white, then used a stencil to pencil in the letters until I got them where I wanted them to be and then painted it by hand.  It would have been faster to use a stencil I could just paint through, but I couldn’t find one with simple letters and that would fit all the text I wanted to get on.  It took me about a day to paint it.  The “Because of Him” parts are a 1/4″ piece of board that I cut to 13 1/2″ long and glued on after I painted it.  The nail board is of Angel Moroni, but I want to make the strings thicker, I just ran out of embroidery thread and haven’t gotten more yet.  The bottom middle white piece is 1/4″ plywood that I glued large popsicle sticks to in a herringbone pattern and then painted white and attached a knob to hang something from. The canvas prints I had printed from Costco, their 14×14 gallery wrap.

The main living area’s are on the second floor, and all form one large room.  We really like this layout (except that I have to always have the dishes done before people come over).

Living Room (16)Living Room (10)Living Room (17)Living Room (25)Living Room (28)Living Room (27)Living Room (14)

One of our favorite feature’s of the house is the wood floors.  They are beautiful! Followed closely by the stone backsplash and the cabinet/counter area in the “dining room”.  The builder called it a butler’s pantry, but I wouldn’t call it that.  However I am not sure what to call it.

Continue reading